1-3. Load Your Code – Test Your Servo

WHAT WILL YOU MAKE?
WHAT WILL YOU NEED?
STEP 1
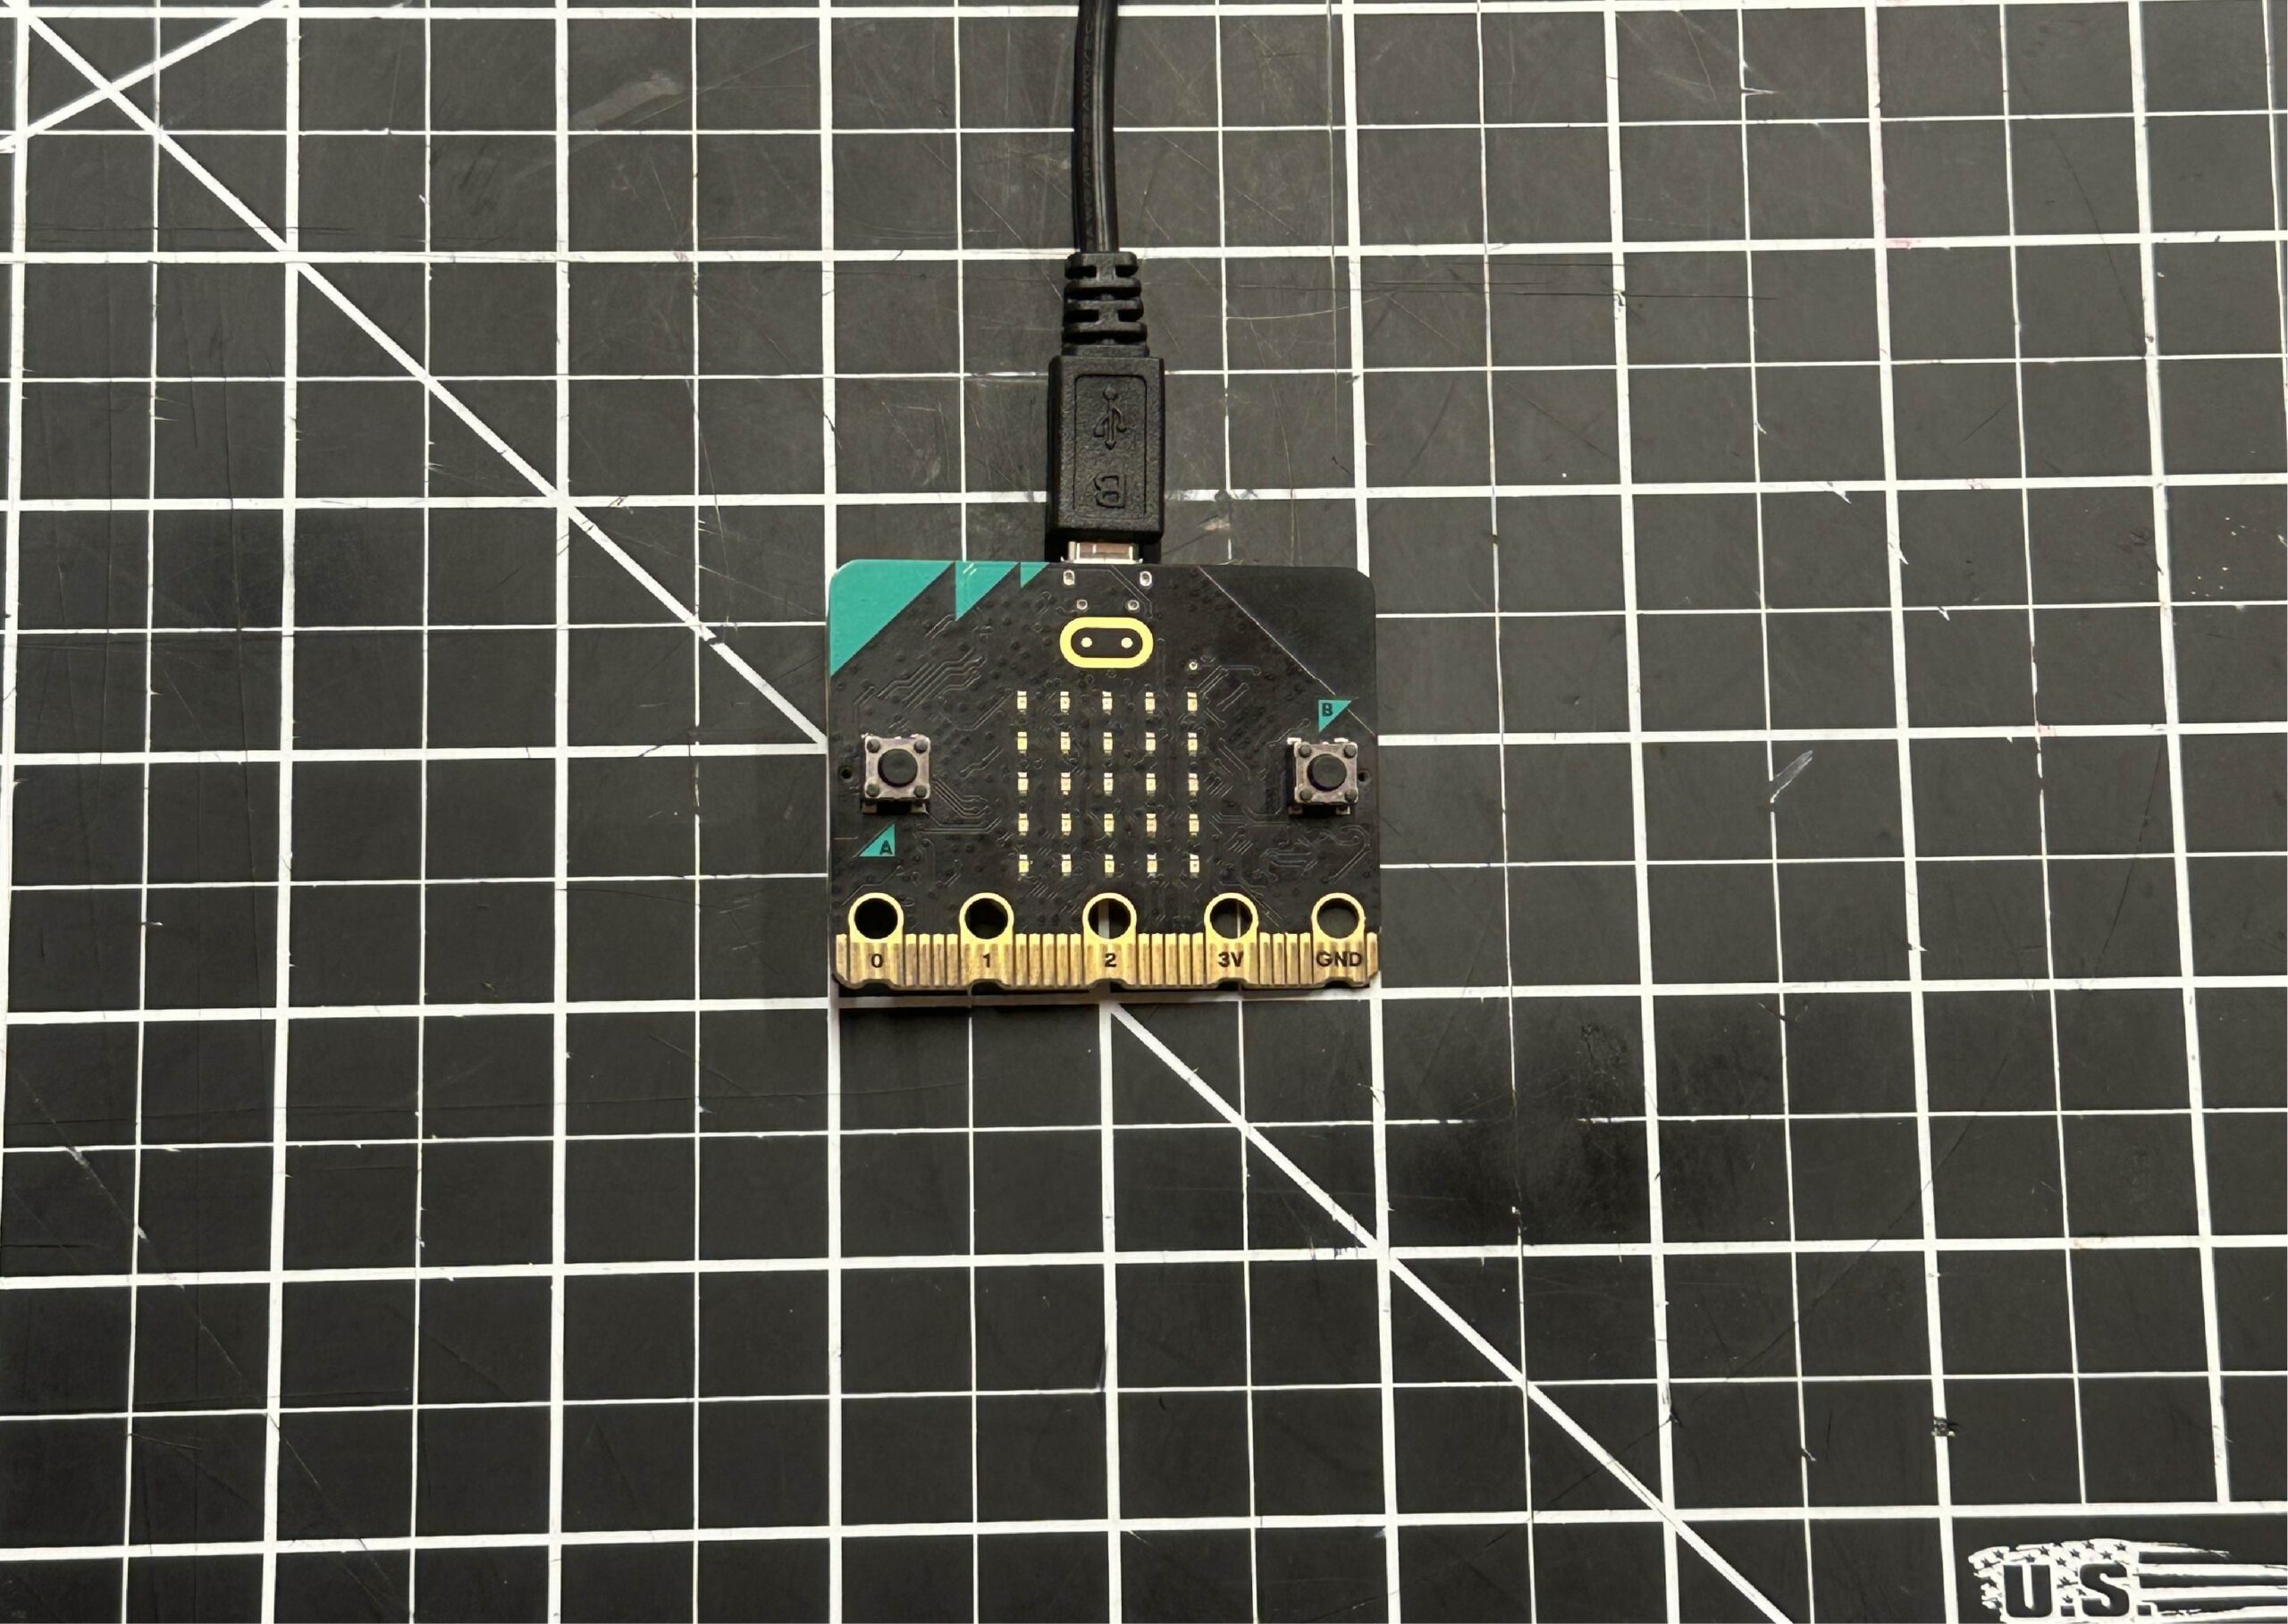
Plug the micro:bit into Your Computer
Once your micro:bit is connected, open your web browser and paste this into your search bar: https://makecode.microbit.org/S62918-98606-38528-23284
STEP 2
Download the Code to Your micro:bit
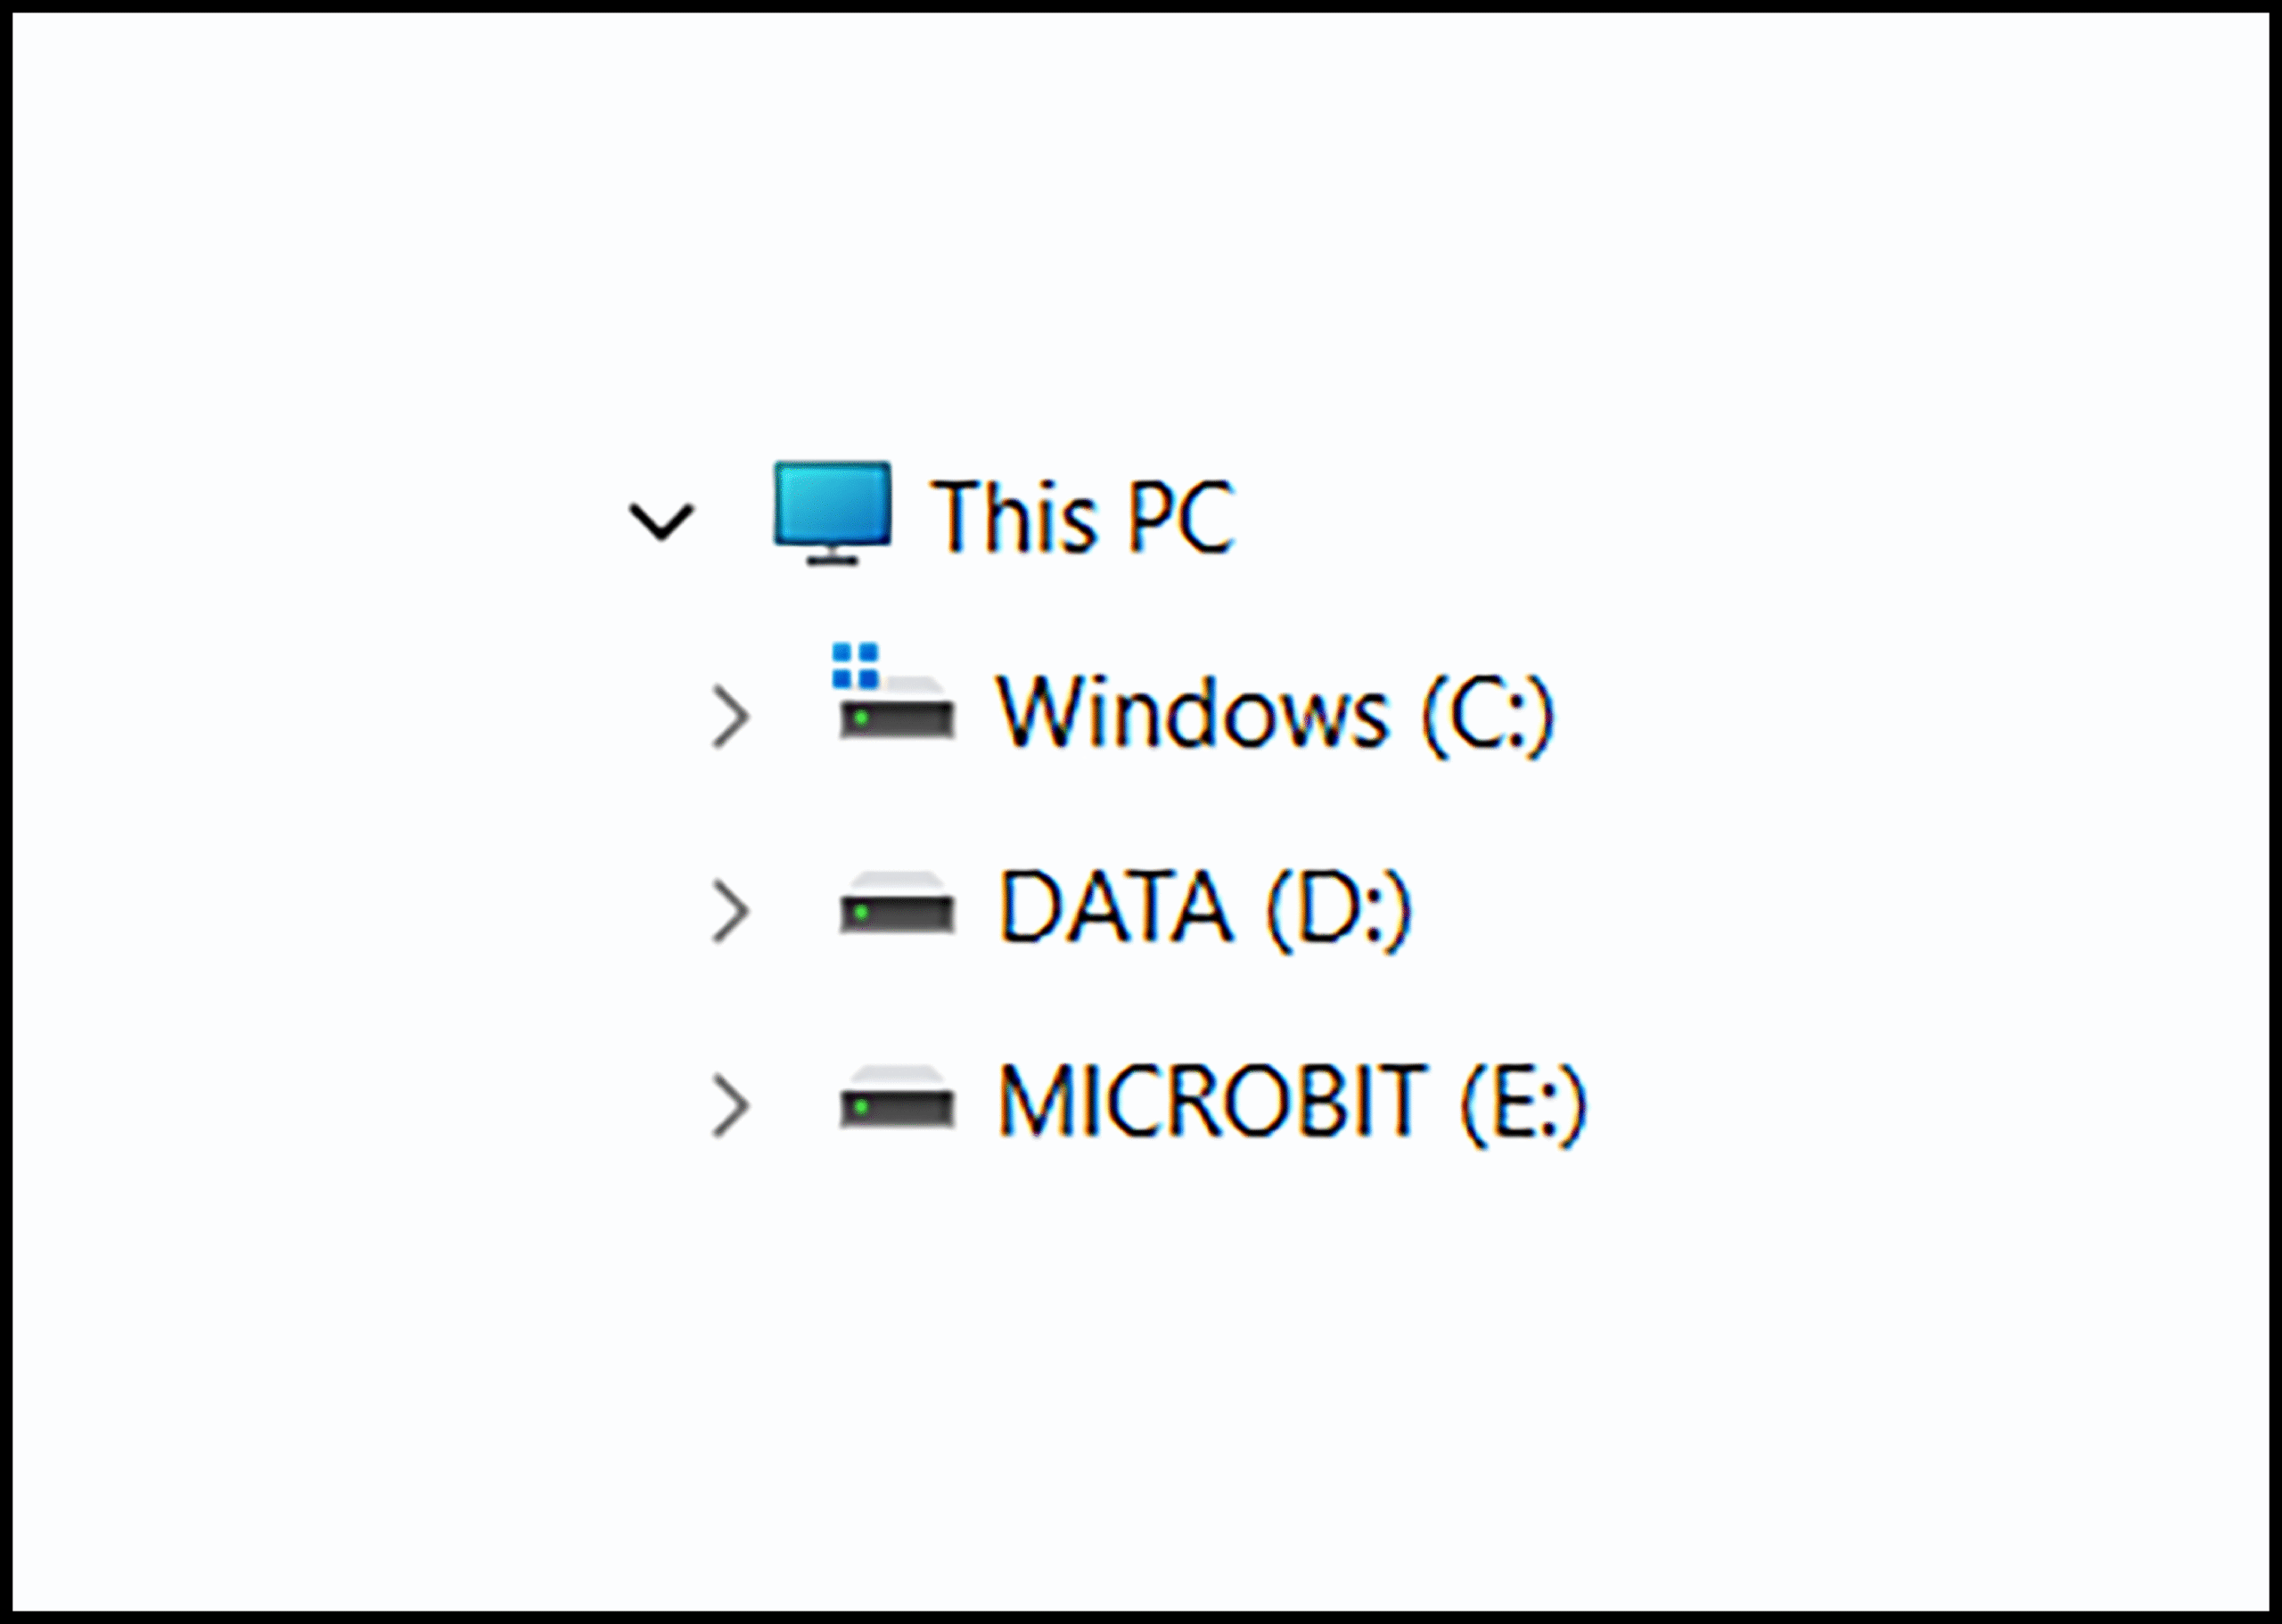
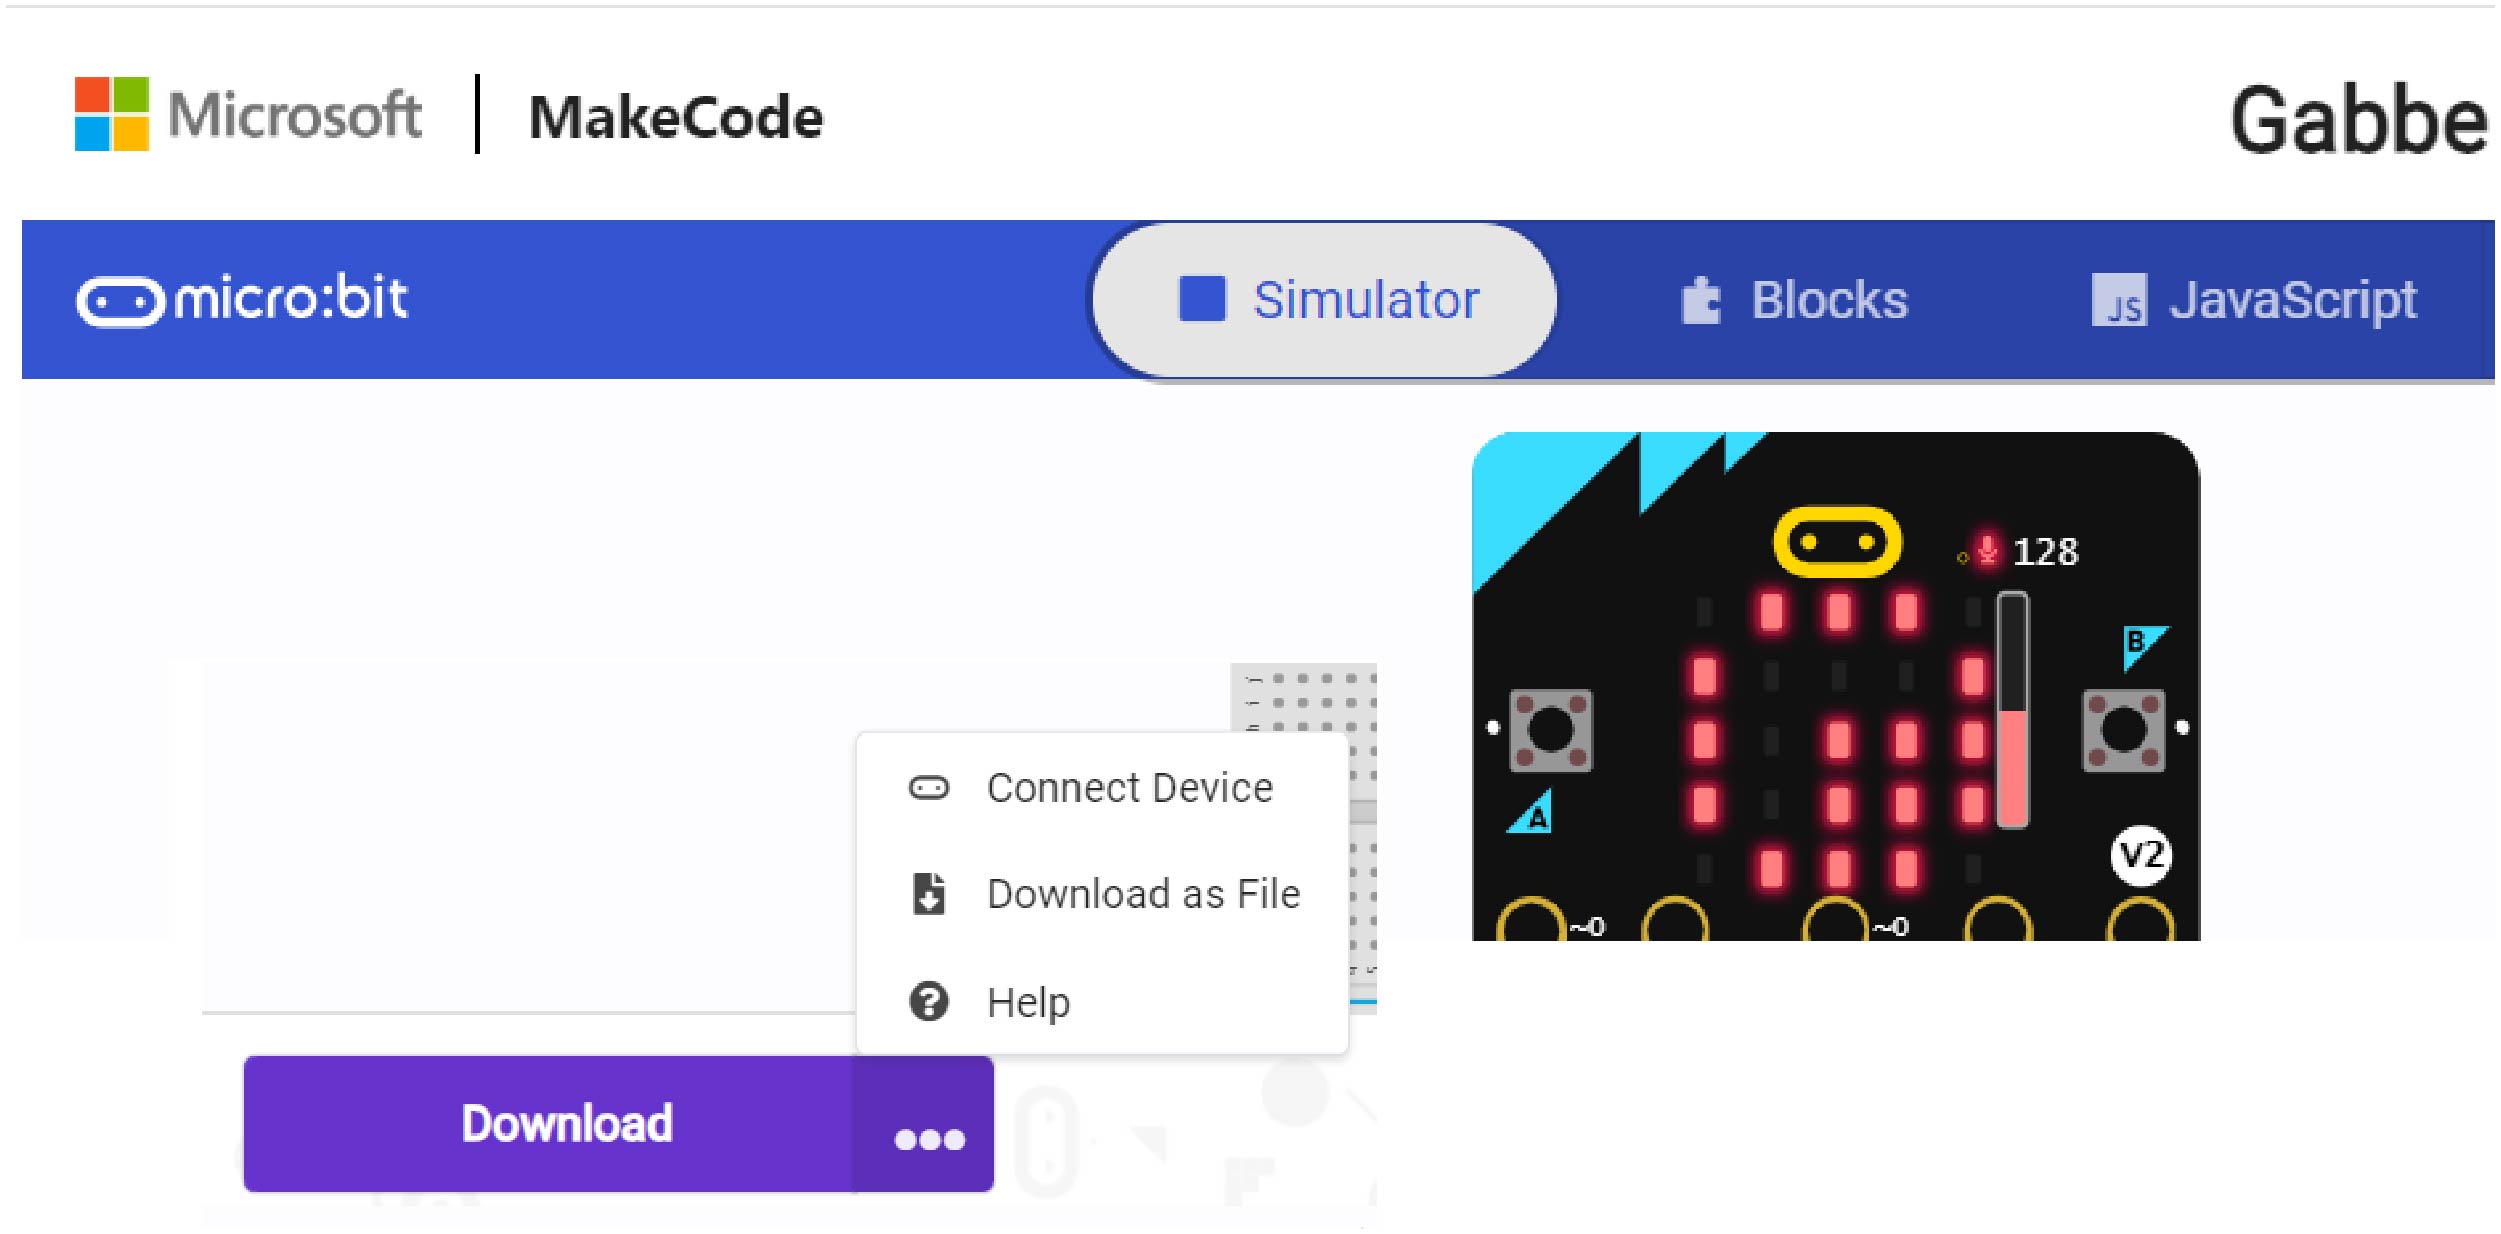
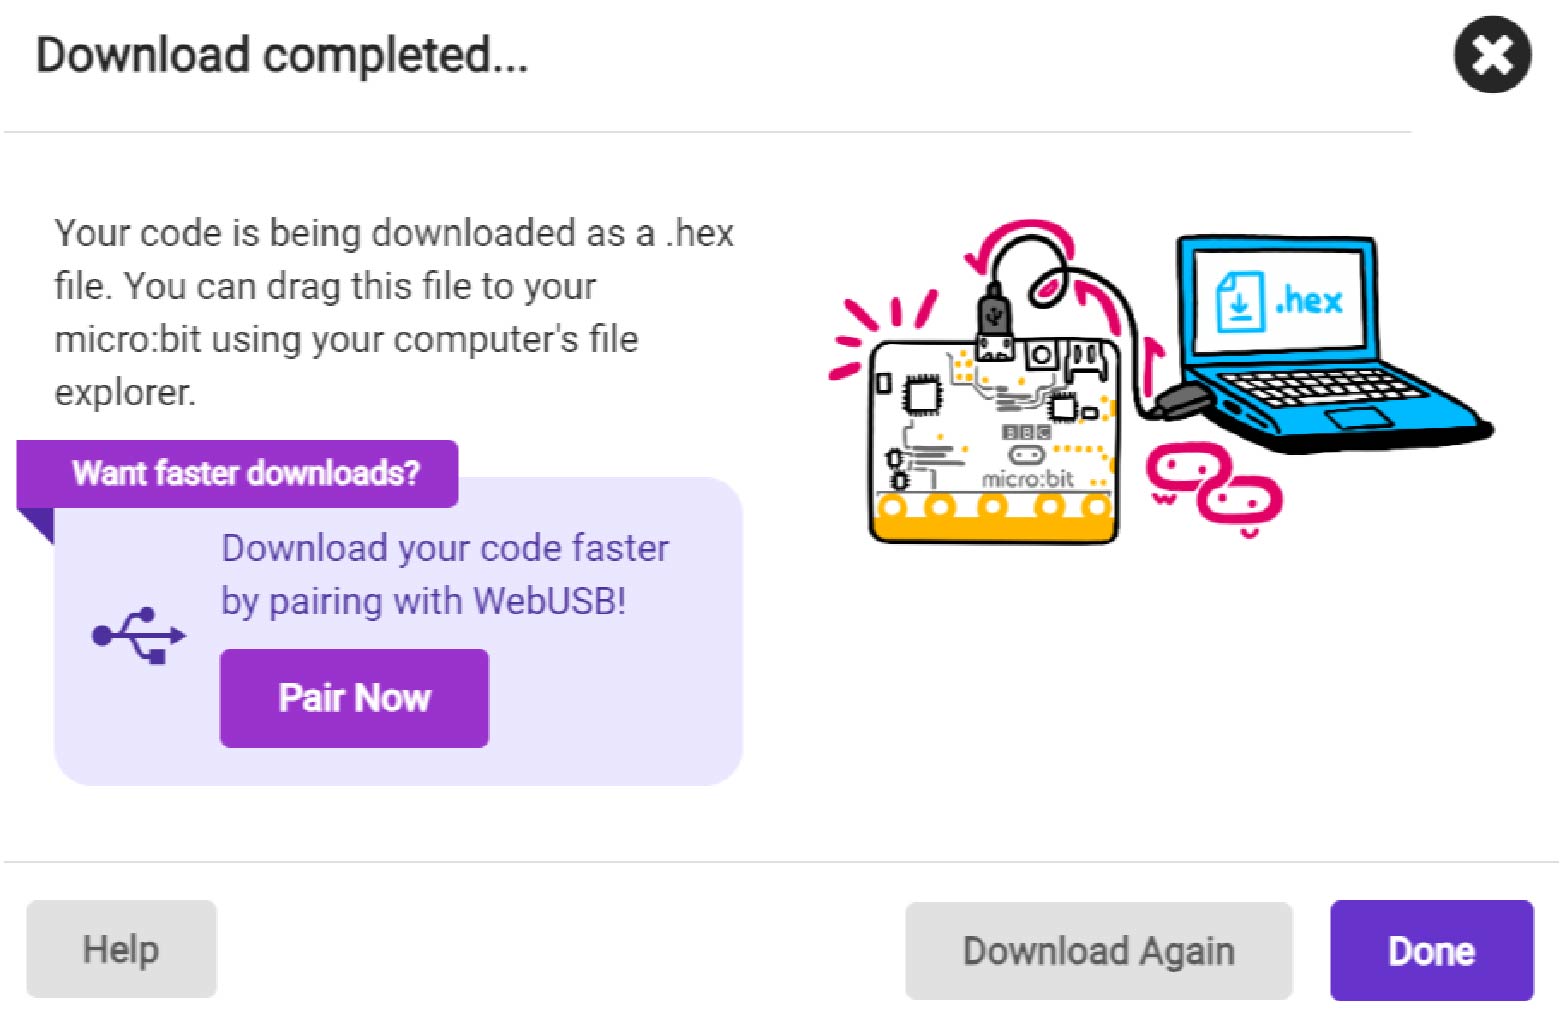
Click on the "Simulator" tab and download your code as a file to your computer. Once downloaded, you can drag or copy the file onto your micro:bit to load your code. Disconnect from computer using the drive "Eject" option.
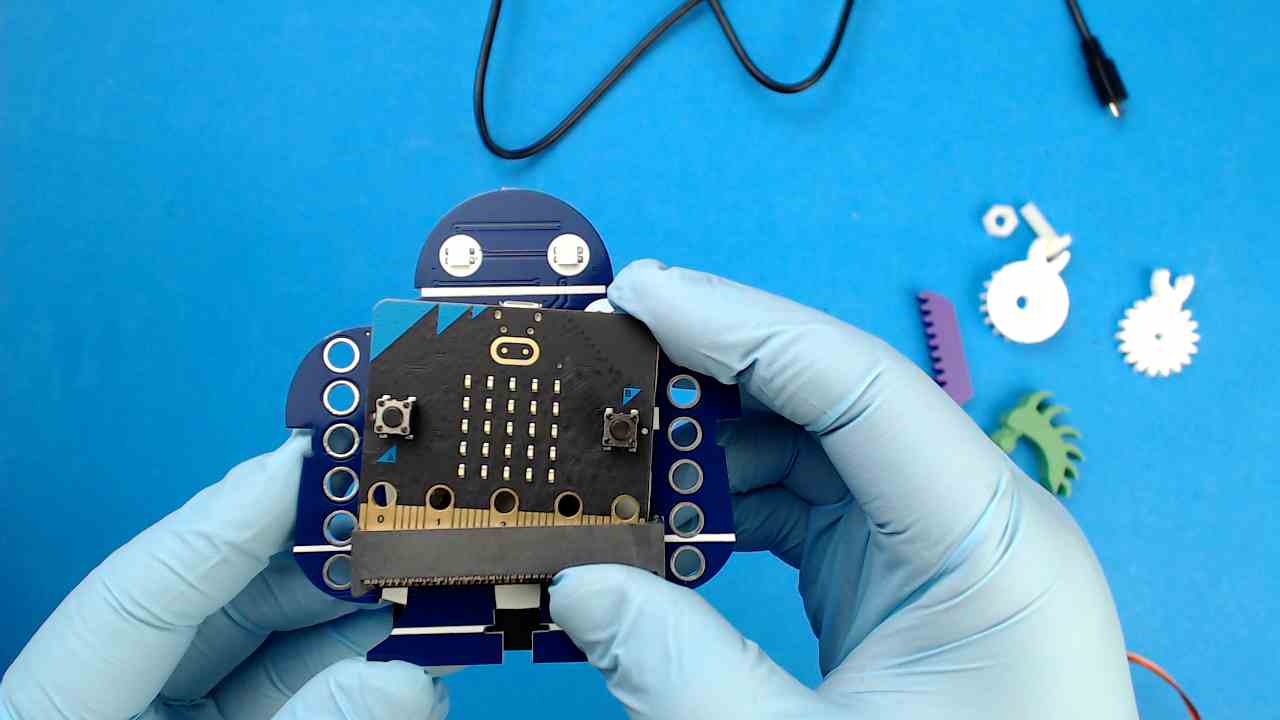
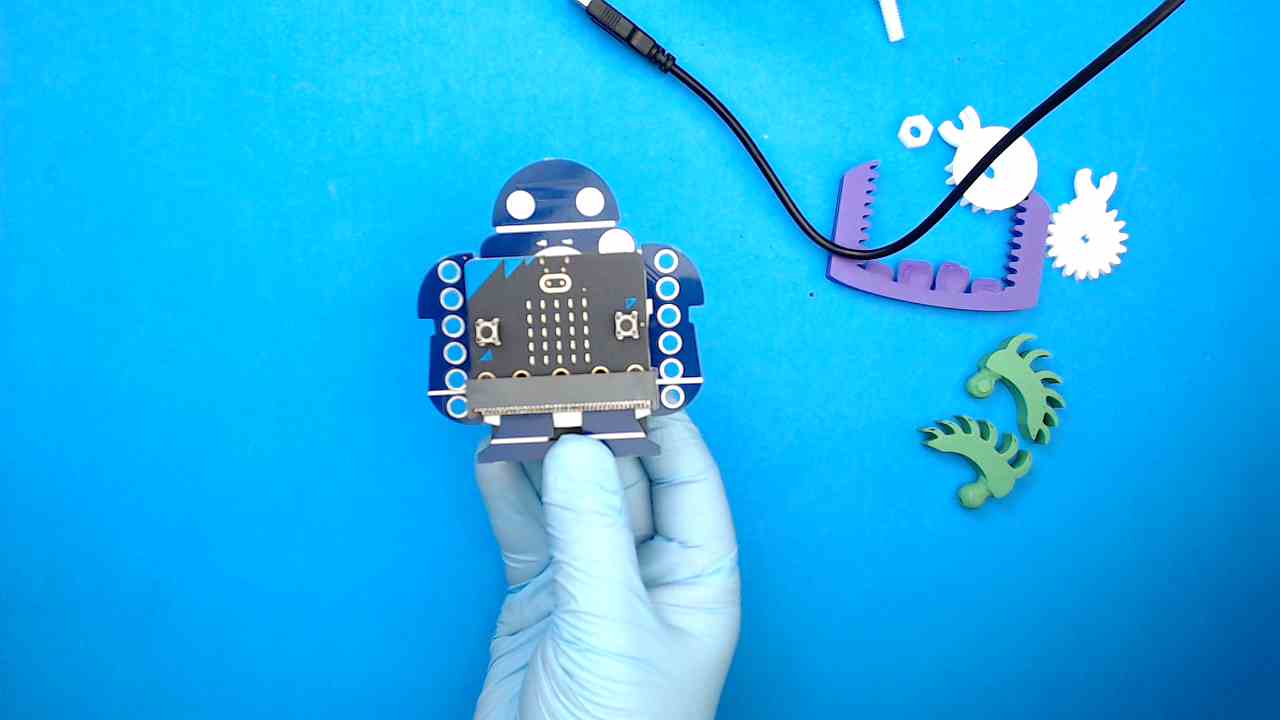
STEP 3
Insert micro:bit into Your Makey:bit Board
Using your thumbs to support the edge connector box, slide in the micro:bit until firmly in place.
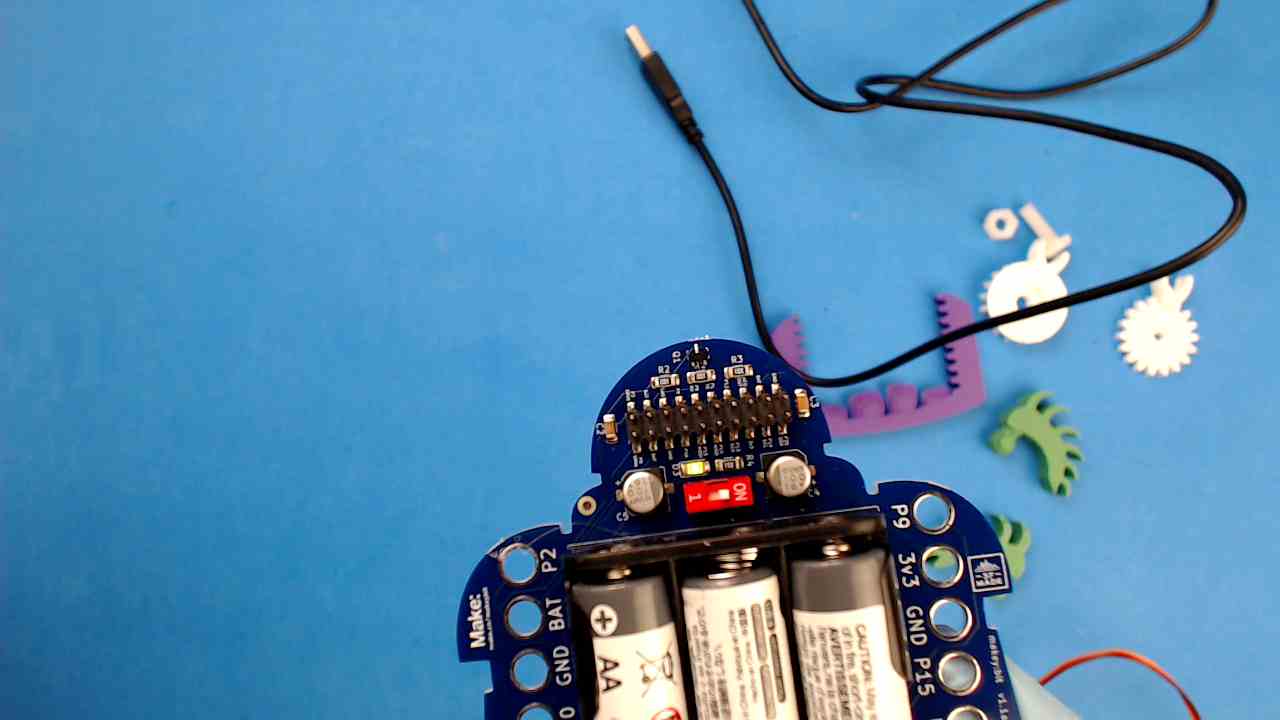
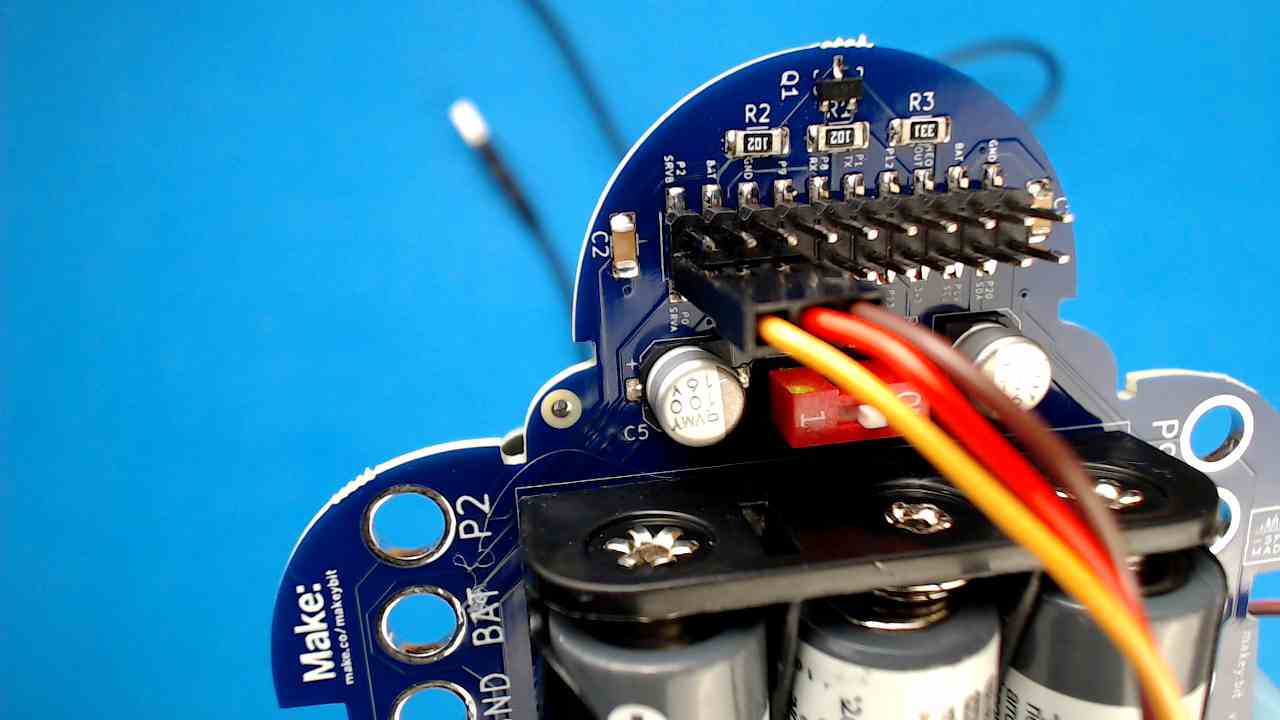
STEP 4
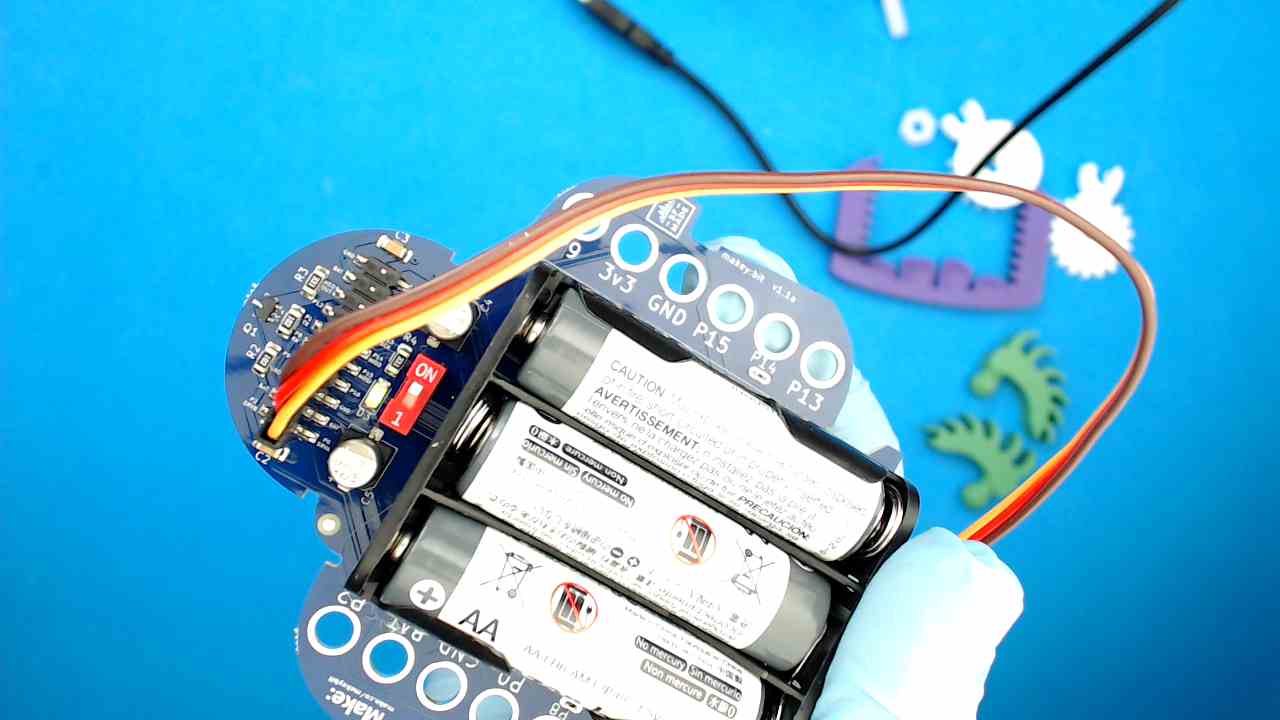
Connect and Test Your Servo
Turn the Makey:bit board around and locate the servo pins along the far left side of the pin row, they occupy the first three pins on each row. Plug the servo connector into the LOWER three servo connector pins, with the BROWN wire to the inside.
STEP 5
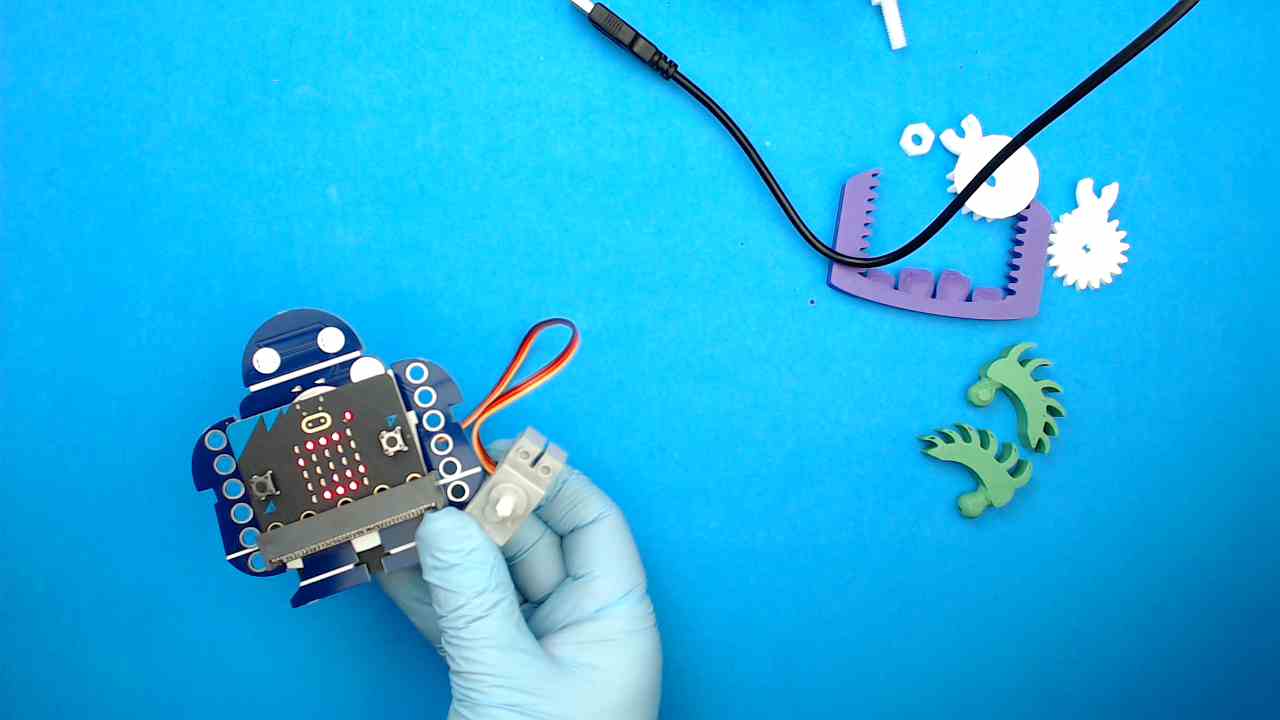
Turn On Your Makey:bit
Flip the switch to "ON" to power up your Makey:bit, micro:bit and servo. You should see and hear the servo reacting to any noises.