2-4. Install GrabbE’s Pinchers and Mouth

WHAT WILL YOU MAKE?
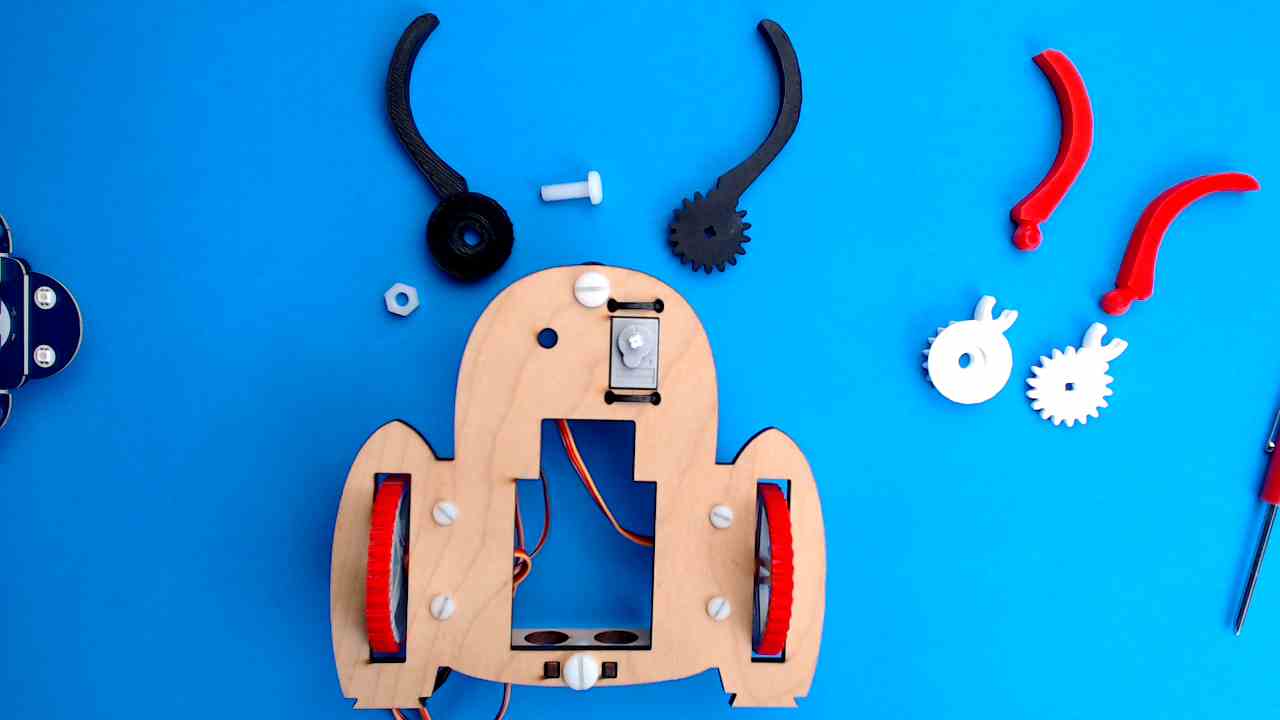
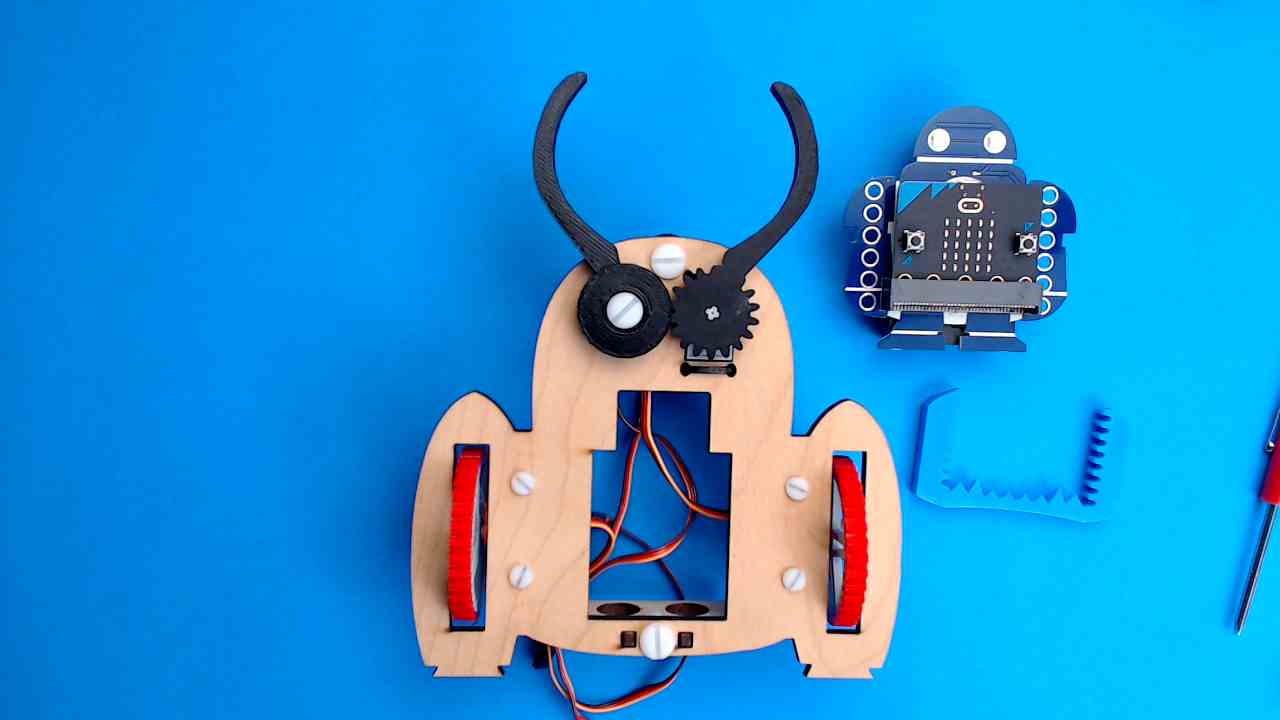
WHAT WILL YOU NEED?
STEP 1
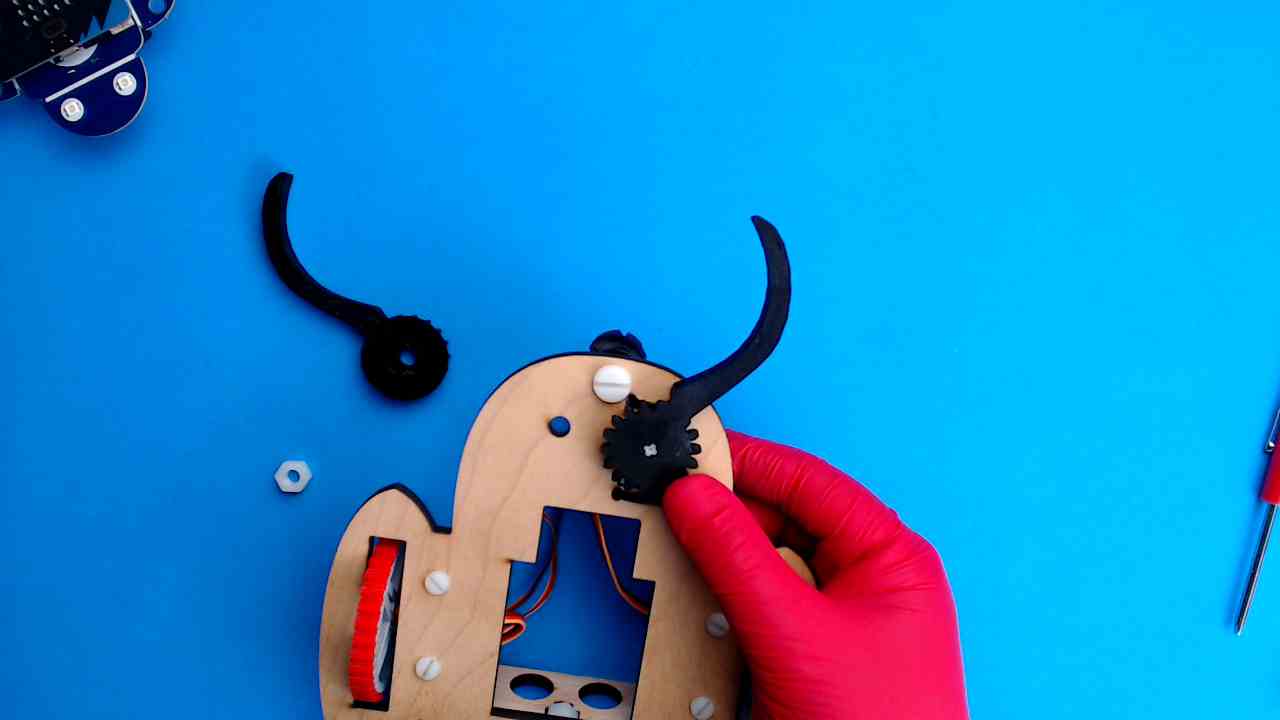
Gear Up the First Pincher
Now grab a pincher gear (look closely to identify which pincher to attach here) and press it onto the shaft of your 180-degree servo motor and make sure it’s curving inward. Your monster’s about to get grabby!
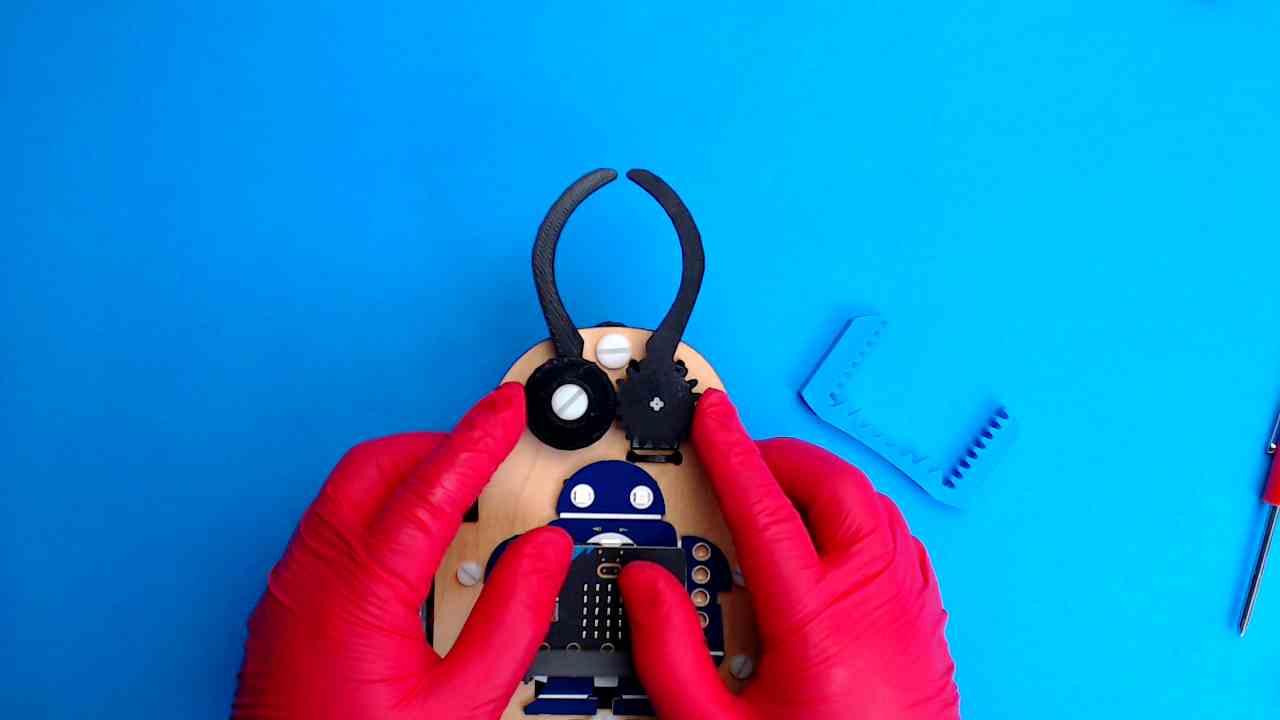
STEP 2
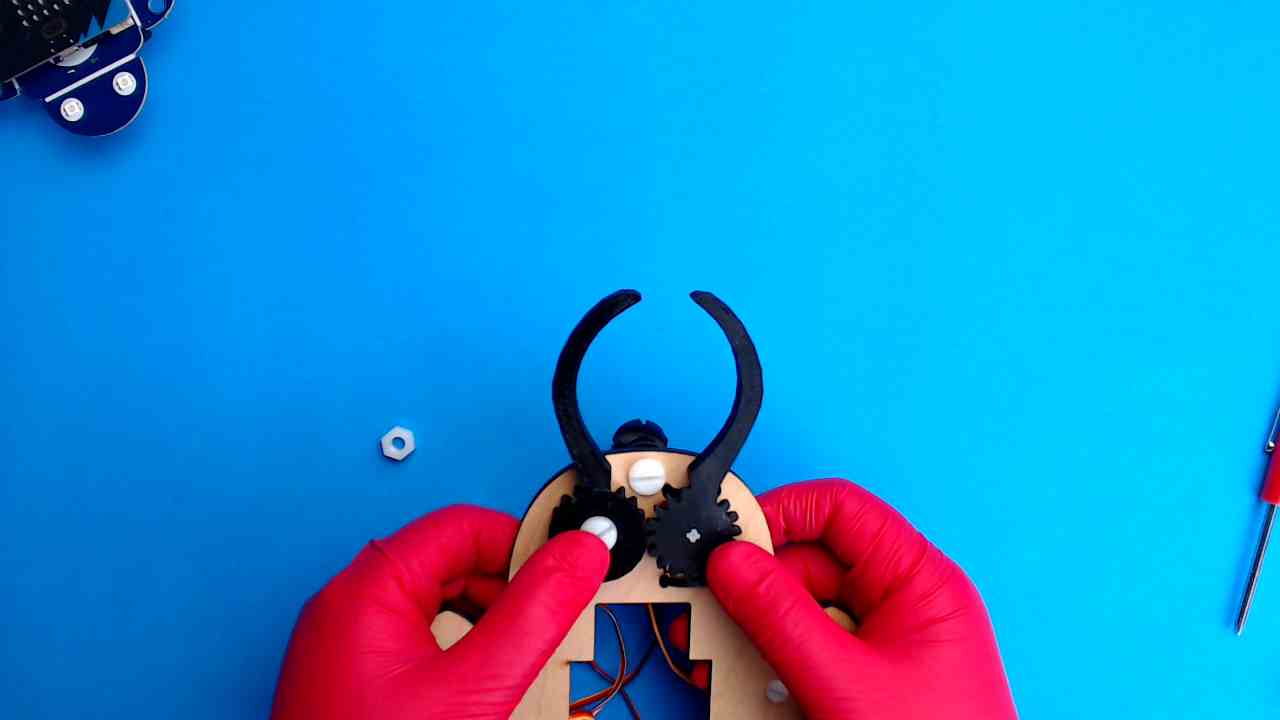
Attach the Second Pincher
Line up the hole in the middle of the pincher with the hole in your base.
Now take the short bolt and push it through the center of the pincher from the front of the base, all the way through to the back.
Screw on the nut from the other side to keep that pincher nice and snug. Tight and tidy, just the way GrabbE likes it!
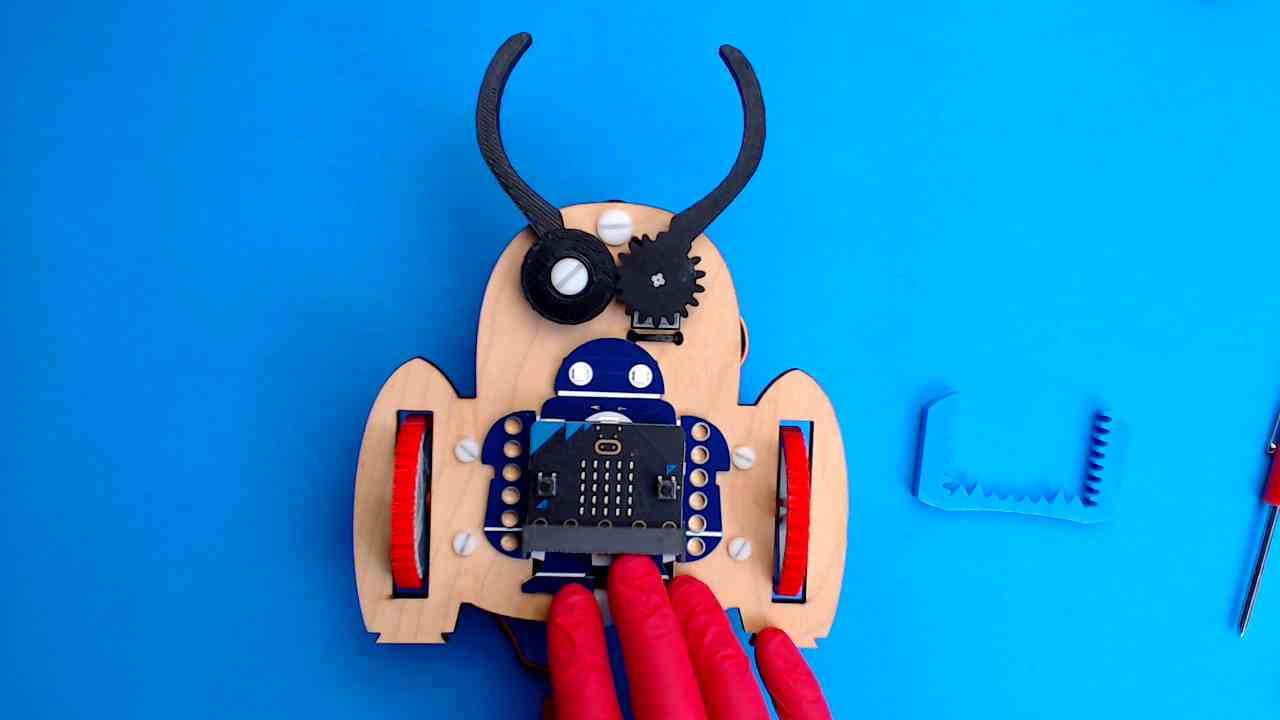
STEP 3
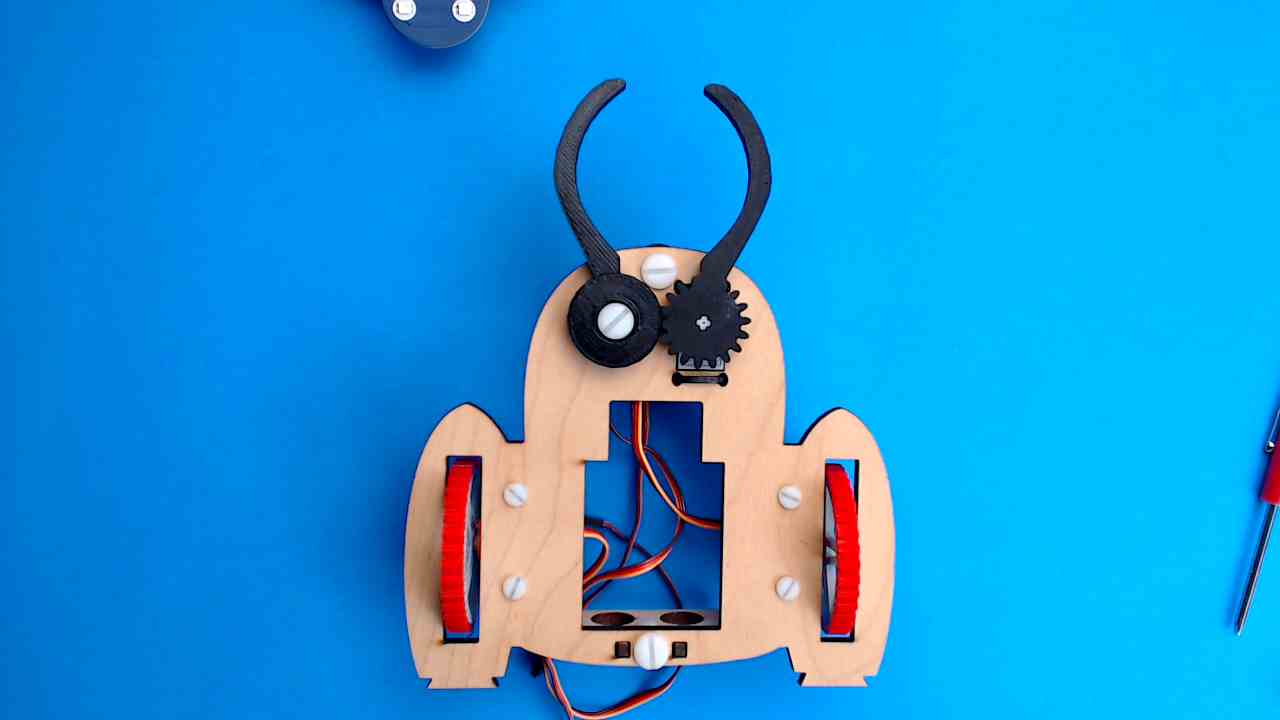
Check Your Build & Add the Makey:bit
Now’s the perfect time to snap your Makey:bit back into place.
In the next step, you’ll be adding the mouth, and it needs to open and close right on top of that Makey:bit.
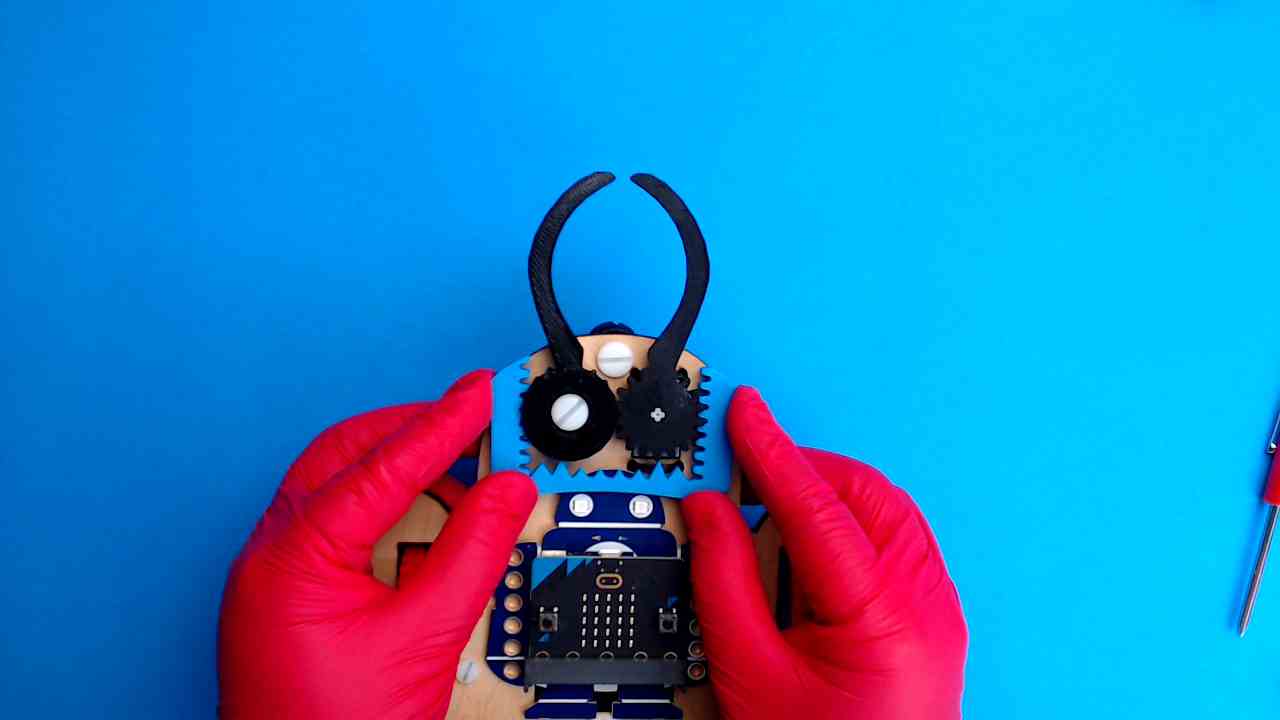
STEP 4
Snap On the Mouth
Now, just like you did with GabbE, line up the mouth with the pincher gears on your monster… then snap it into place.
Gently open and close GrabbE’s pinchers with your hands to see the mouth move too! Pretty cool, right? Your monster’s almost ready for action!