2-3. Install Side Wheels onto GrabbE

WHAT WILL YOU MAKE?
WHAT WILL YOU NEED?
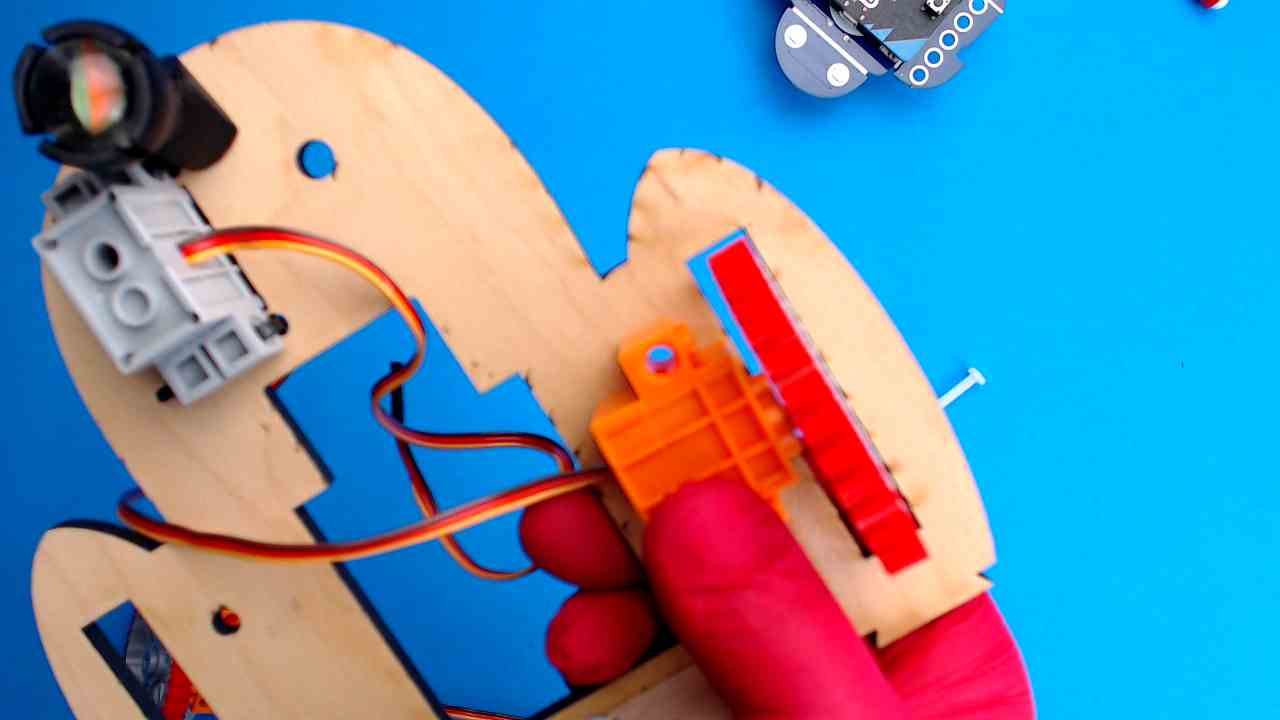
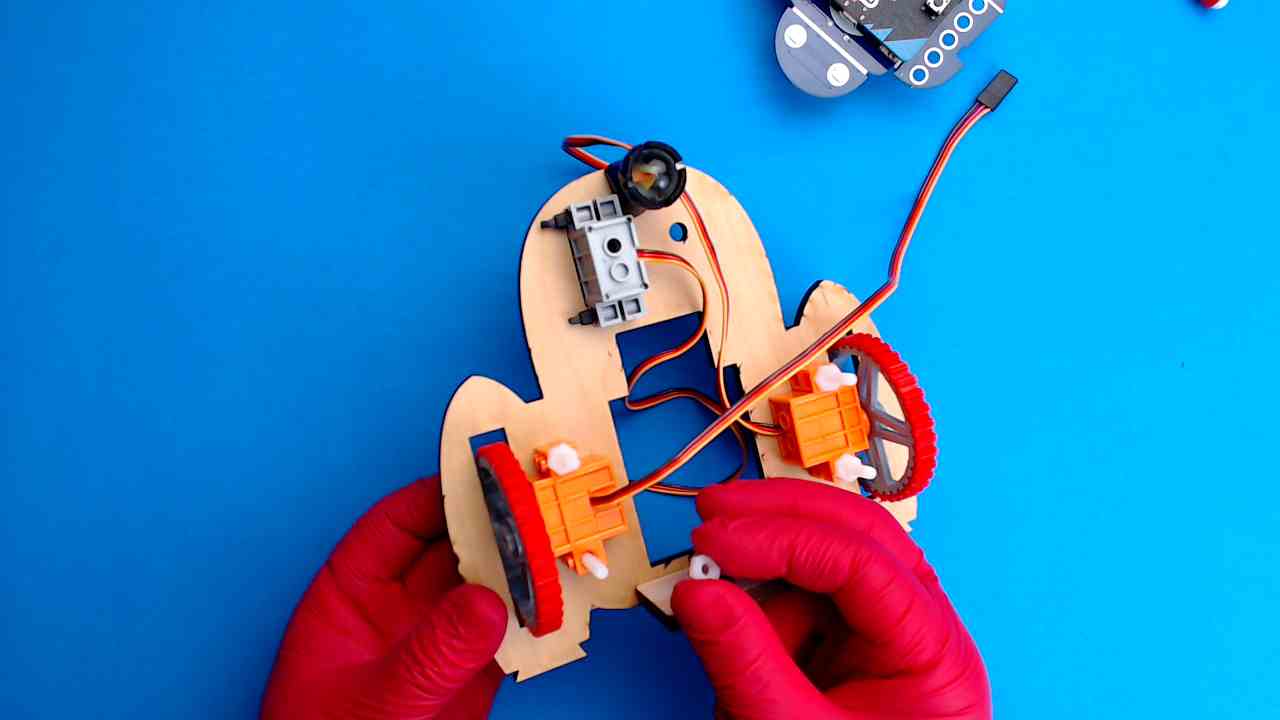
STEP 1
Get Your First Wheel Placed
Grab one of the wheels you already attached to a continuous servo. Now, place that wheel through the wheel slot on the right side of your monster’s body, with the servo motor facing left.
Line up the holes on the servo with the small pre-drilled holes in the base.
Then, grab a nylon bolt and push it through the top hole of your servo from the front of the base, through the servo, and out the back. Nice and steady, you're doing great!
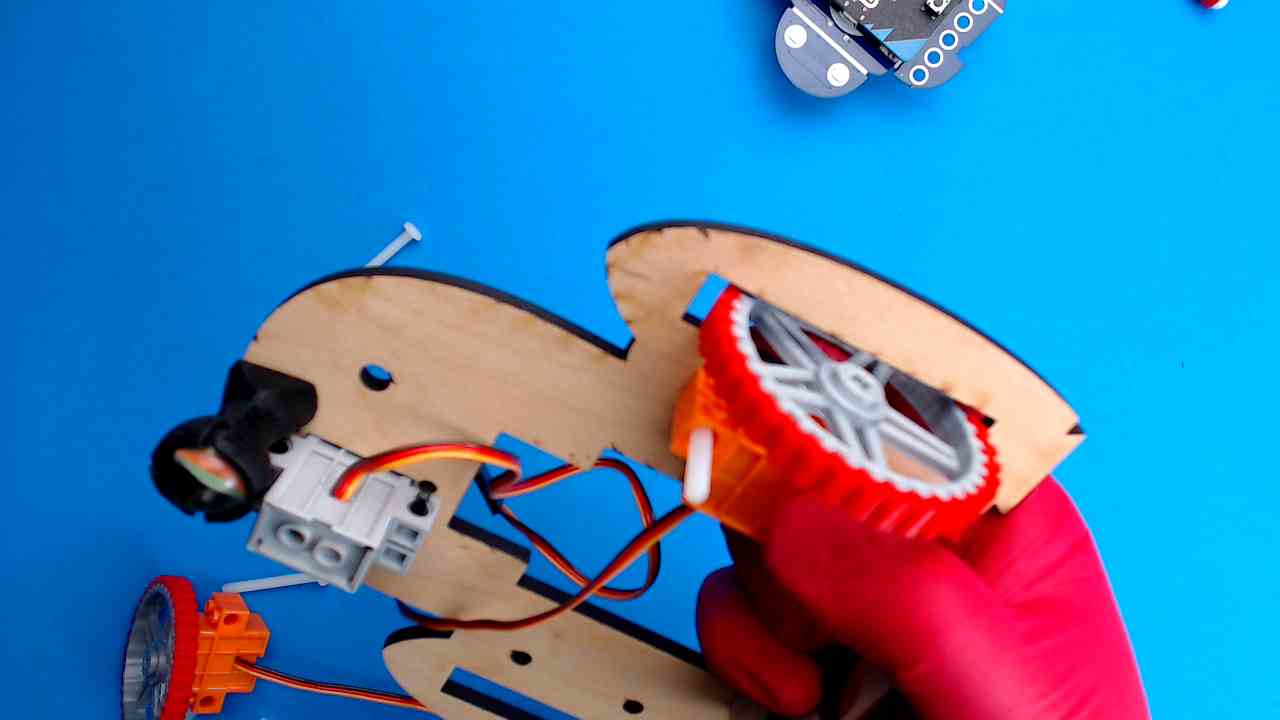
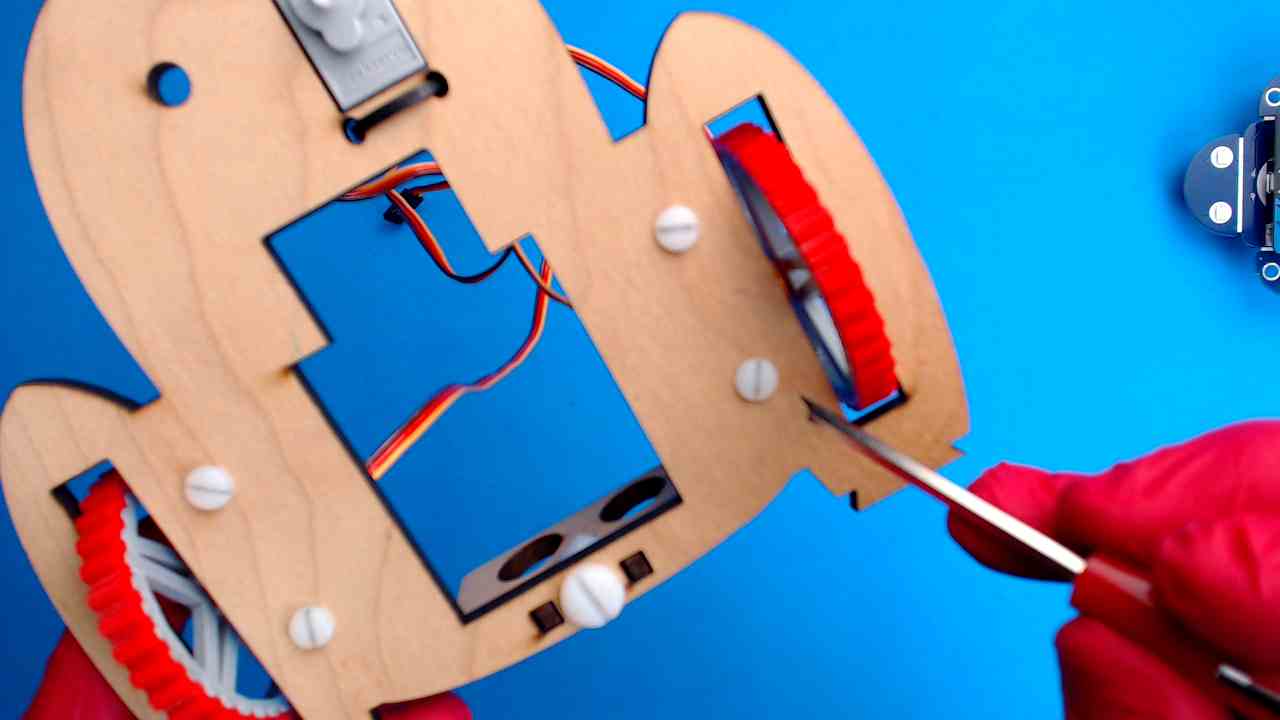
STEP 2
Secure the Wheel + Servo to the Base
Carefully screw a nut onto the nylon bolt you just pushed through. You can start by holding the bolt with one hand while you twist the nut on with your other hand. When it gets a little tricky to hold, grab your flathead screwdriver to keep the bolt steady while you keep twisting the nut with your fingers.
Now finish up the right side by adding a second bolt through the bottom hole of your base and servo. Just like before, make sure you’re pushing the bolt in from the front of the base.
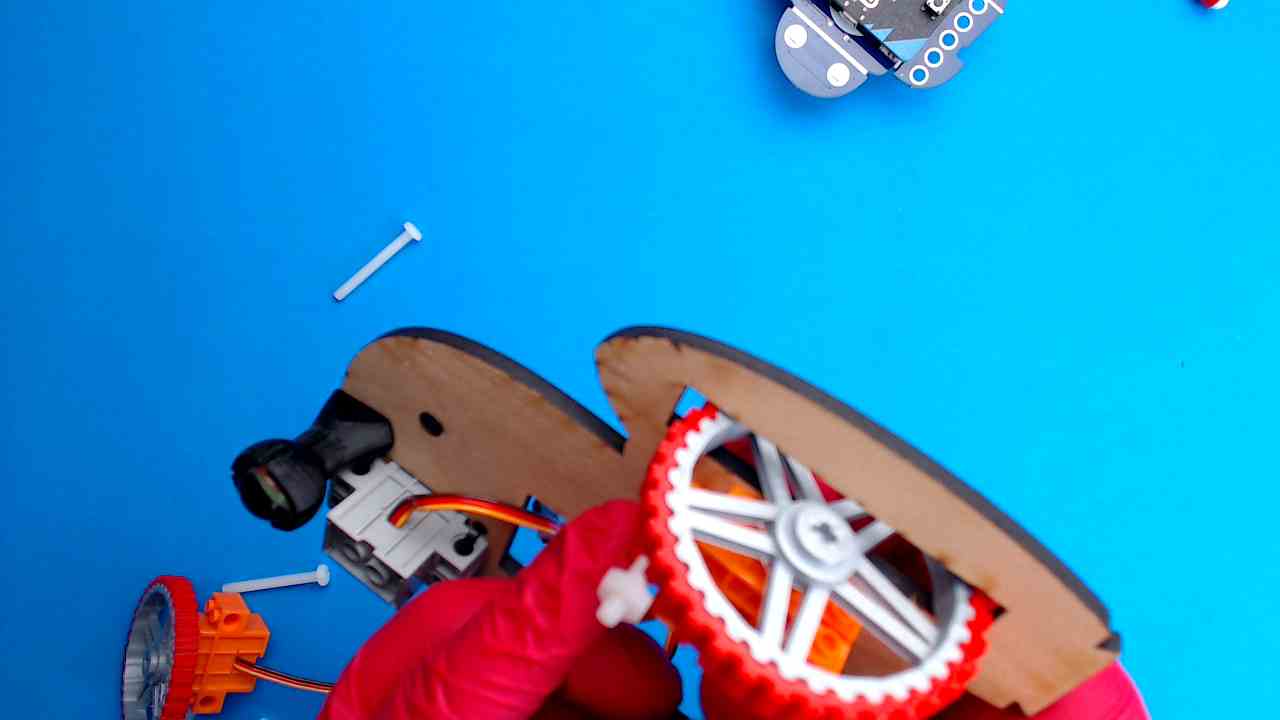
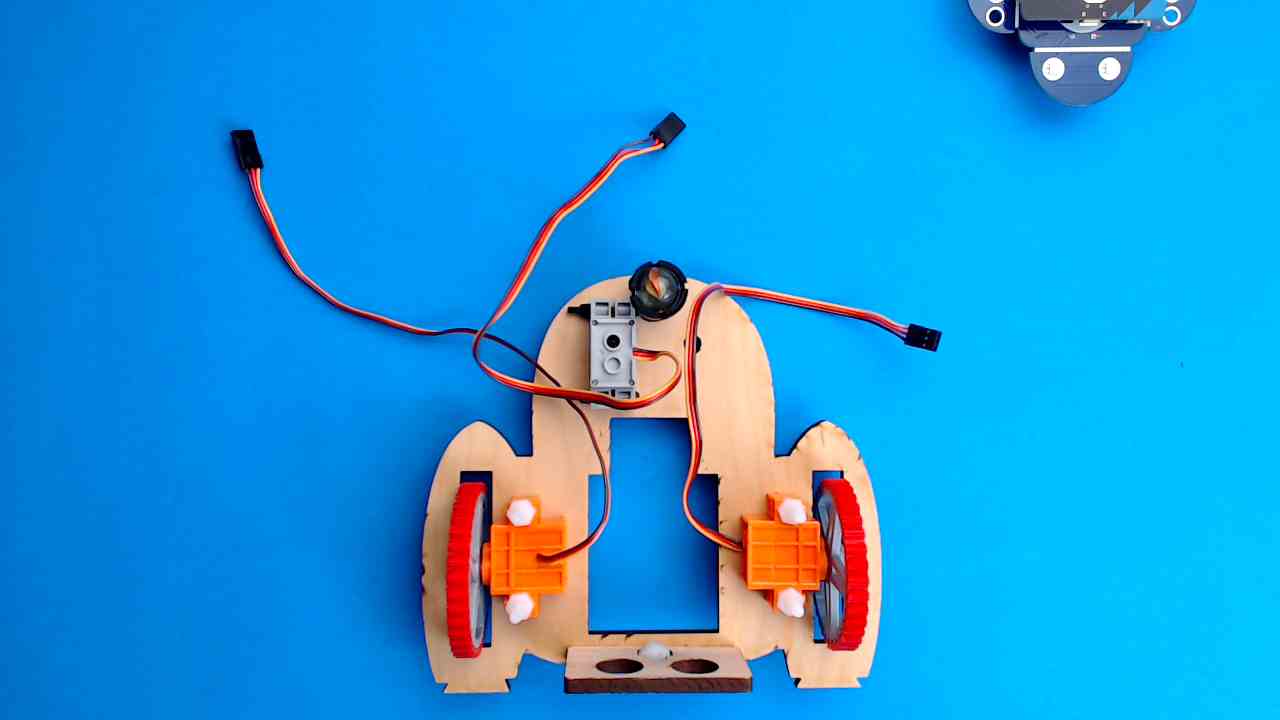
STEP 3
Attach and Secure Wheel Number Two
Make sure to line up the holes on the servo with the holes in your base. Then, just like before, push the bolts in from the front, and twist on the nut in the back to lock everything in place. You're almost a pro!
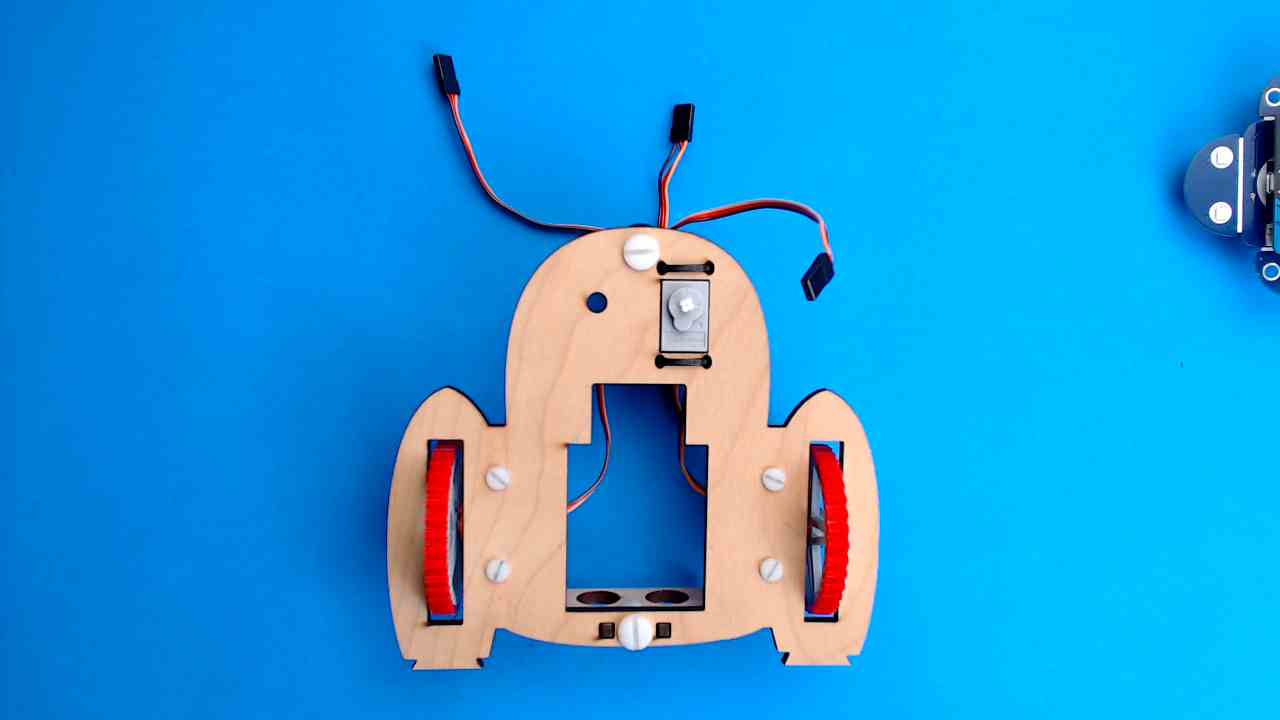
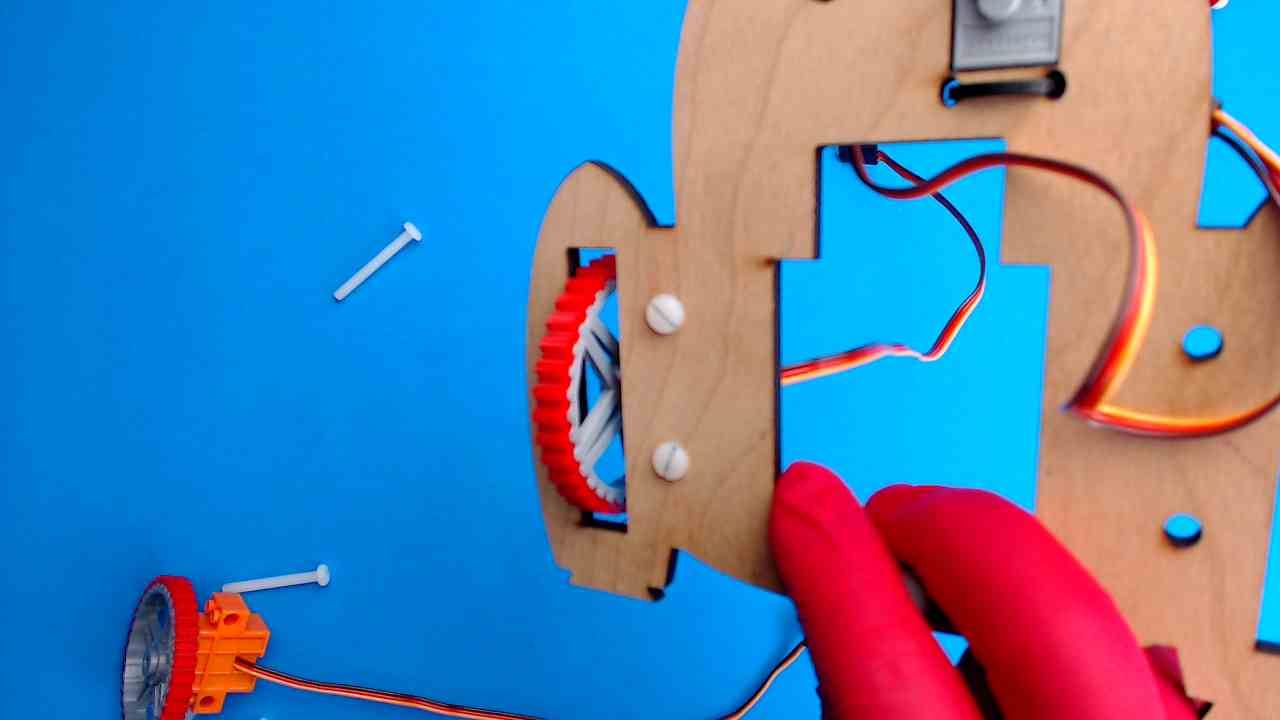
STEP 4
Check Out How Far You've Come!