1-6. Install Makey:bit
WHAT WILL YOU MAKE?
WHAT WILL YOU NEED?
STEP 1
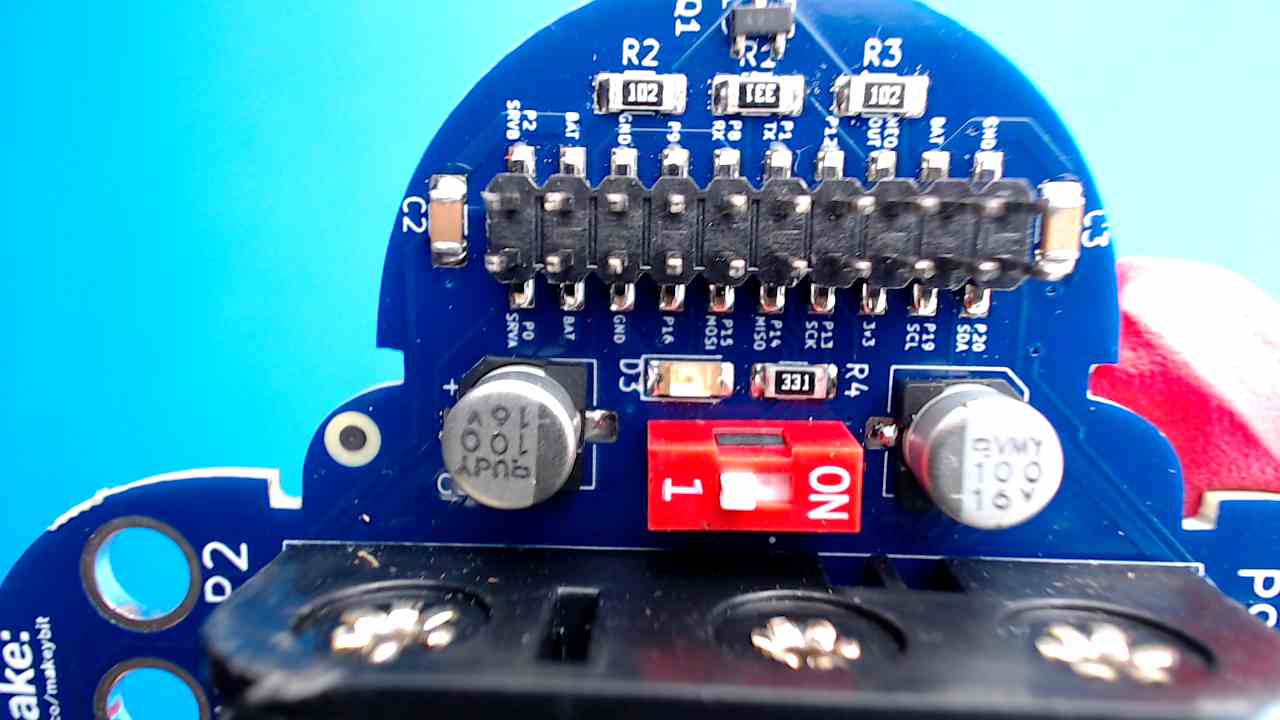
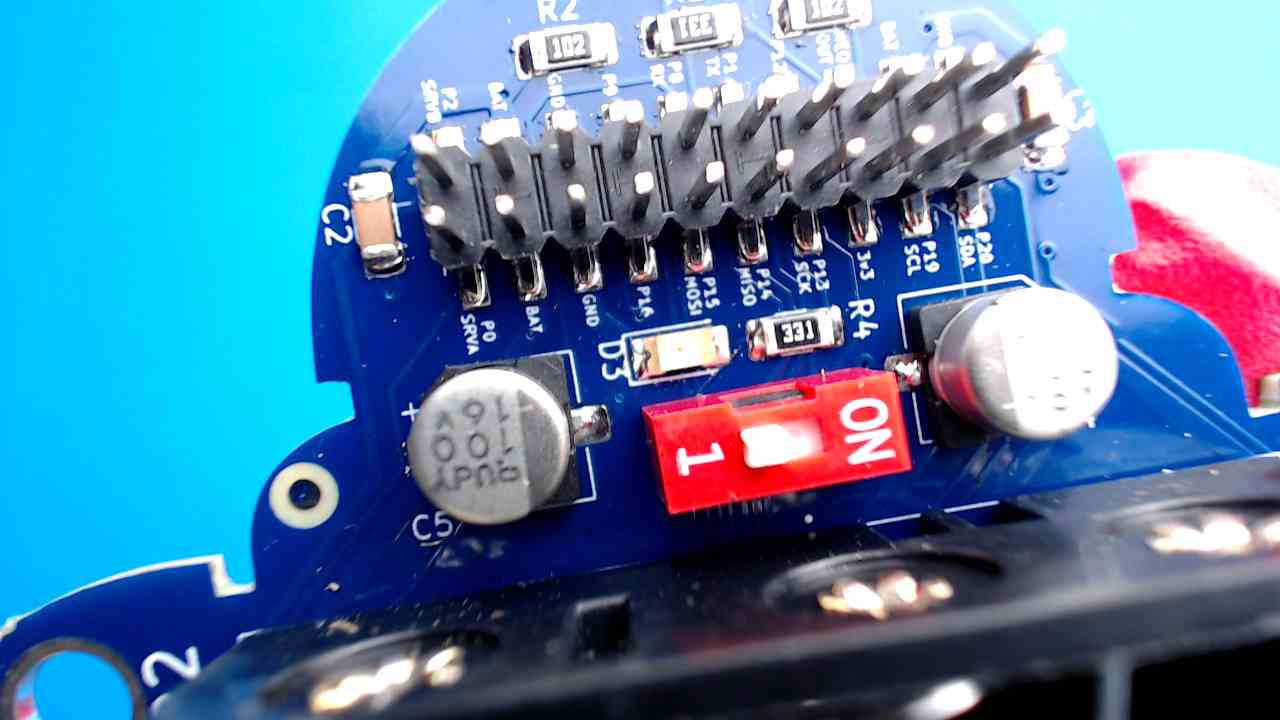
Peek at the Pins
First, let's check out the pins on the back of your Makey:bit! This is where you’ll plug in your servo motor cables. Need a closer look? Take a peek at the cards that came with your kit.
STEP 2
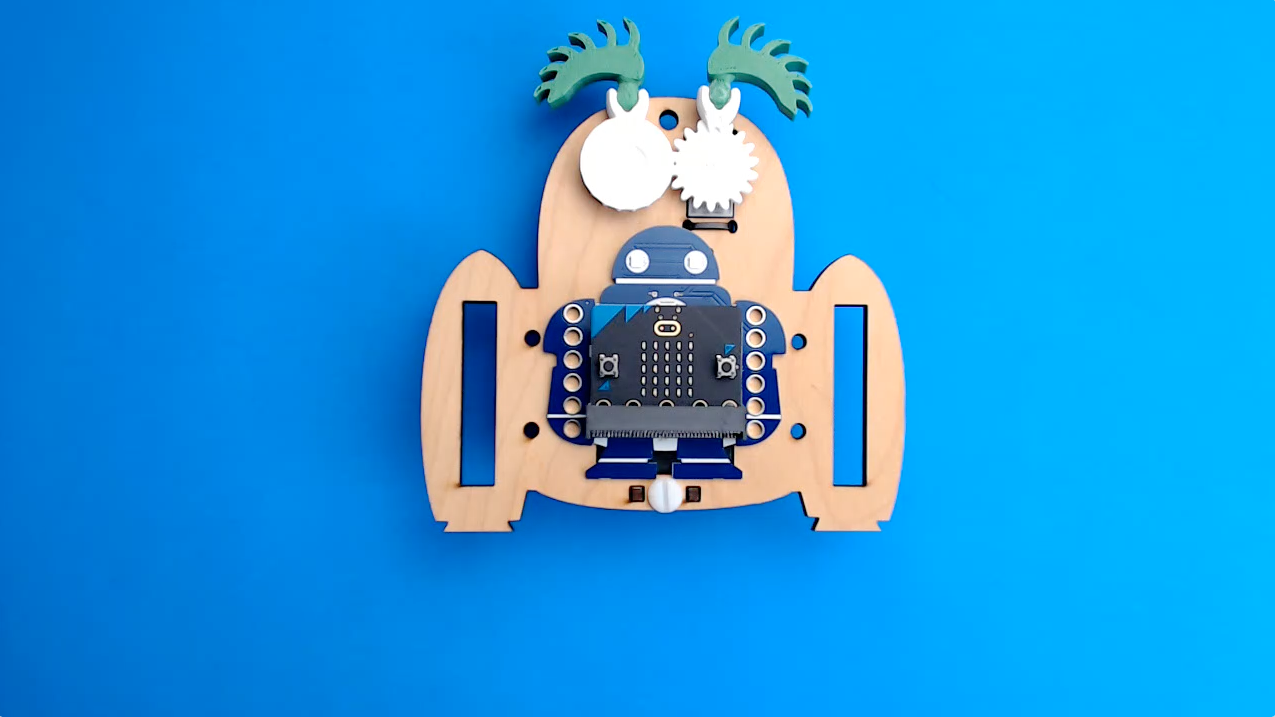
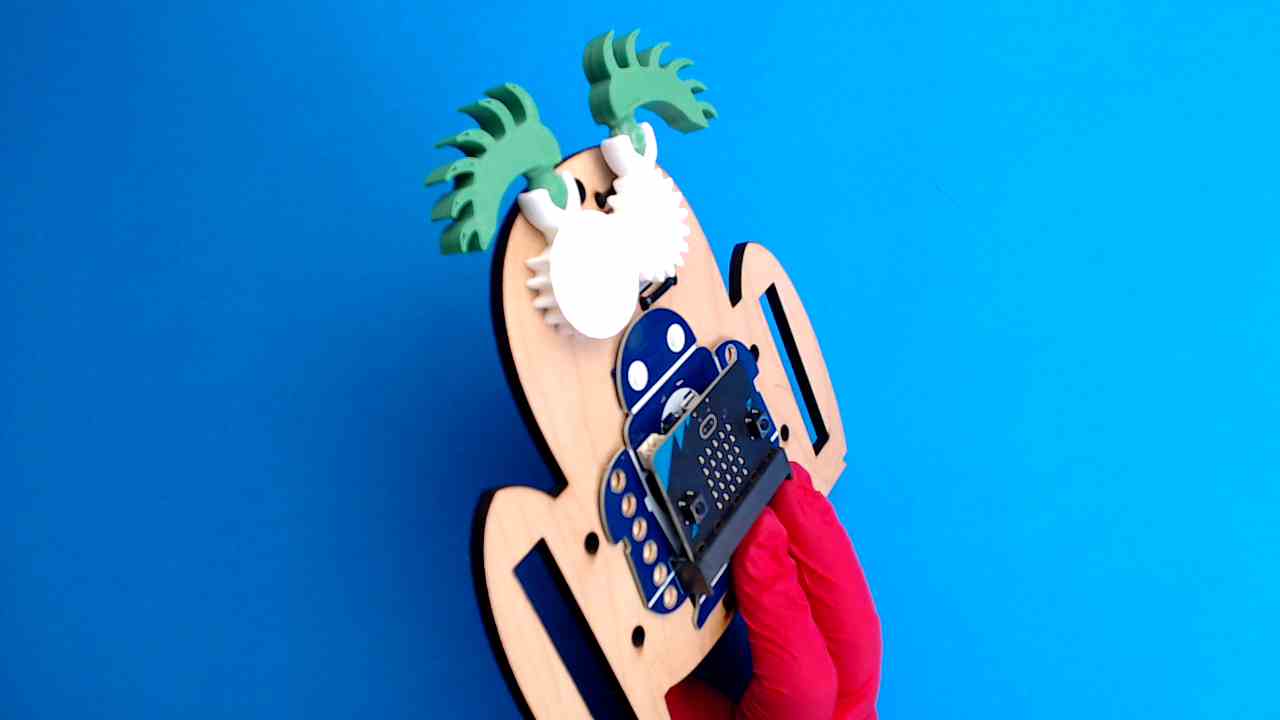
Pop In the Makey:bit
Now get your Makey:bit in place! Slide it through the large hole in the center of your monster’s base, starting from the front. Gently push it into place. It's almost monster time!
STEP 3
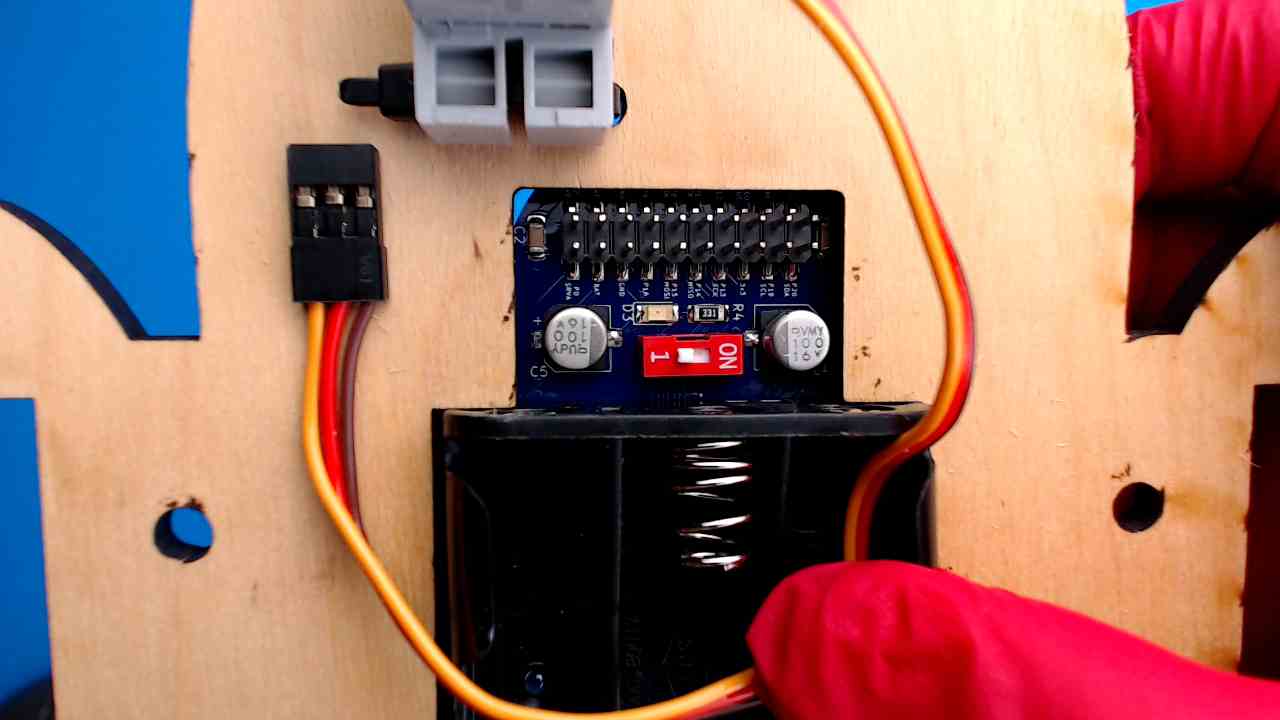
Plug In the Power
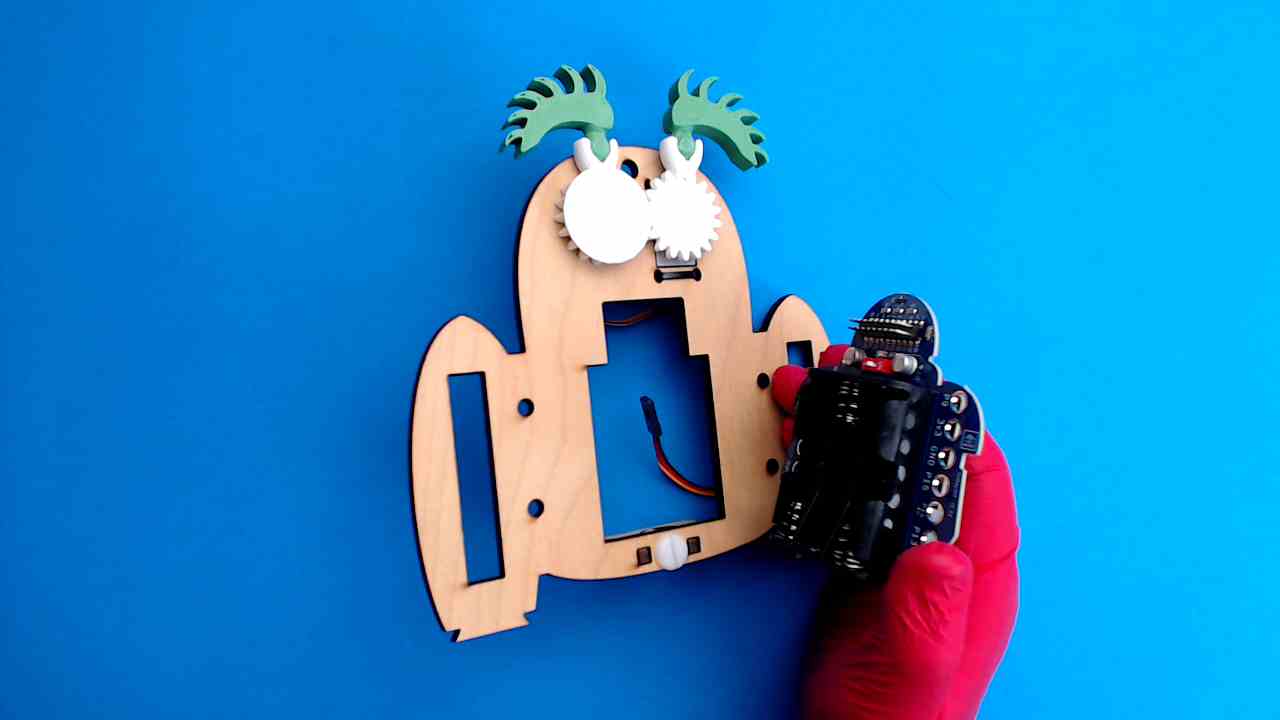
Now that your Makey:bit is in place, flip your monster over so you can see the back side.
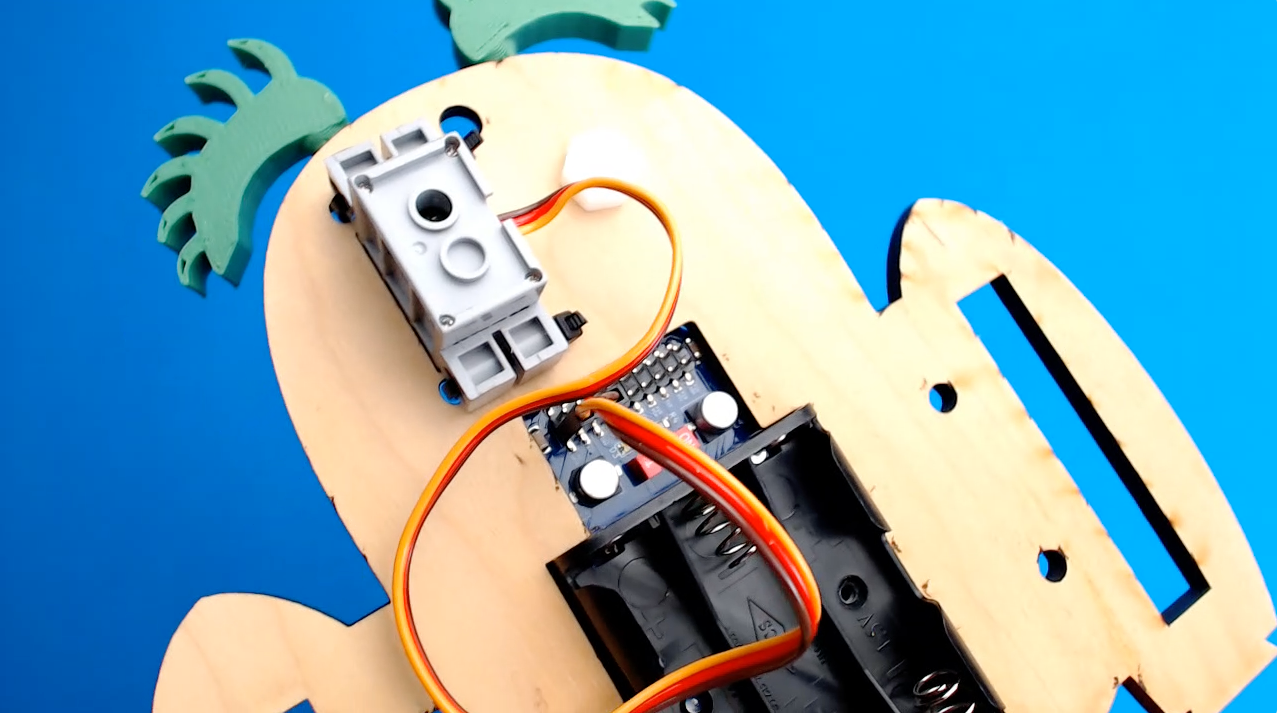
Find the cable from your 180-degree servo motor and get it ready. Make sure the brown wire is on the right side.
Plug it into the three pins on the bottom left of your Makey:bit, with the brown wire still on the right.
Here’s a quick reminder: Brown (-) goes to GND Yellow (signal) goes to P0
Nice and neat!