1-4. Install the 180 Degree Servo Motor
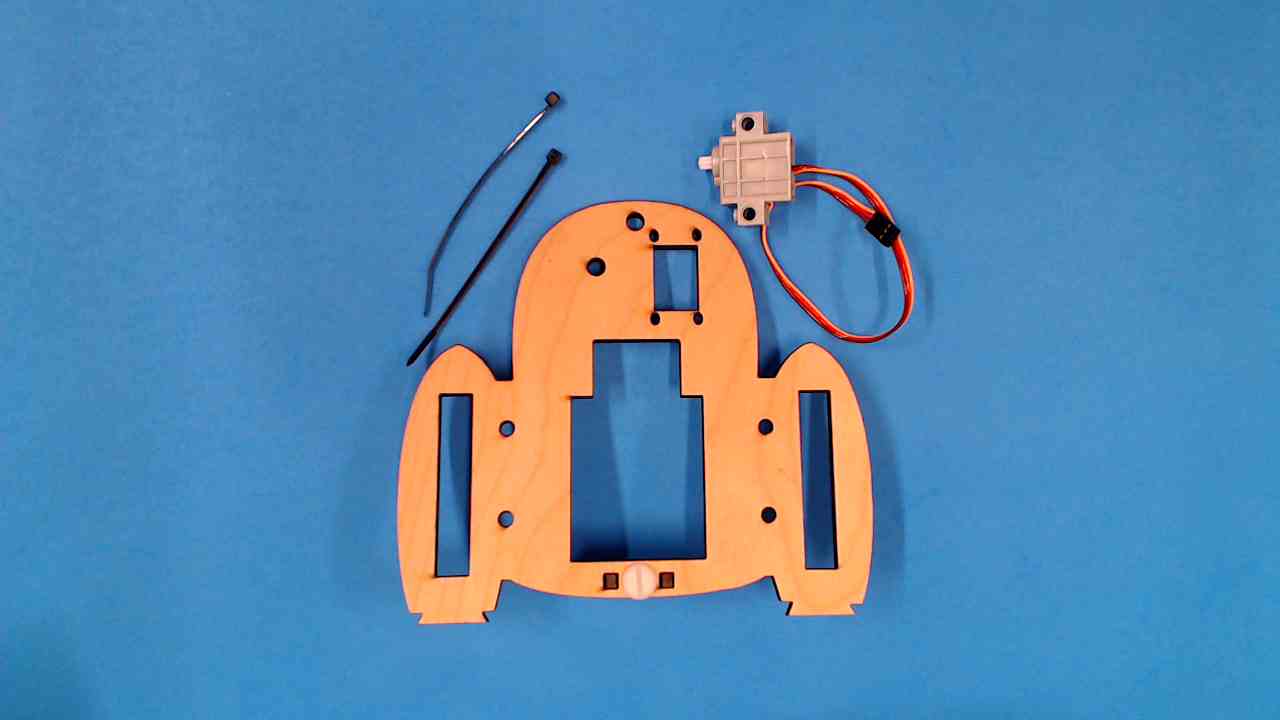
WHAT WILL YOU MAKE?
WHAT WILL YOU NEED?


STEP 1
Thread the First Zip Tie
Hold your monster base up with the rectangle opening facing the left side. Then, thread the first zip tie through the small opening on the upper left side.


STEP 2
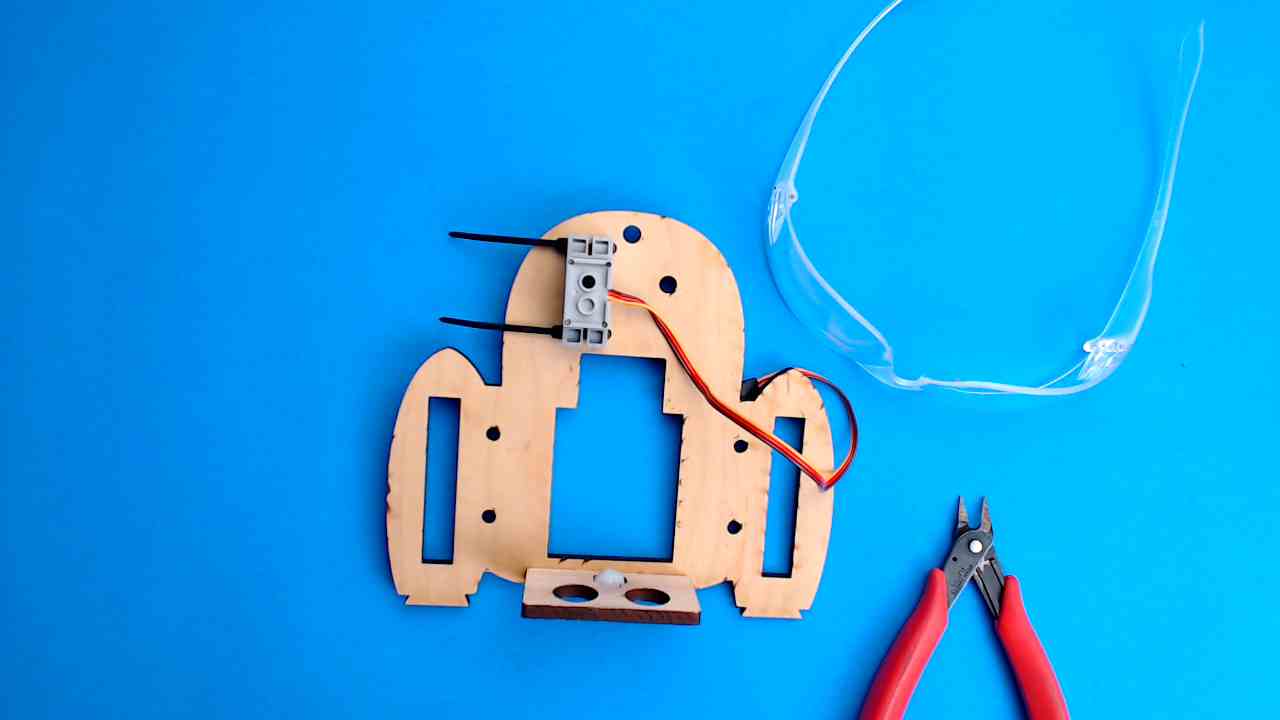
Loop the Zip Ties Through the Back
Thread the second zip tie through the bottom left side, then loop both zip ties through the holes on the back of the base. When you're done, it should look just like photo number 2. Zip-zip, you're almost there!
STEP 3
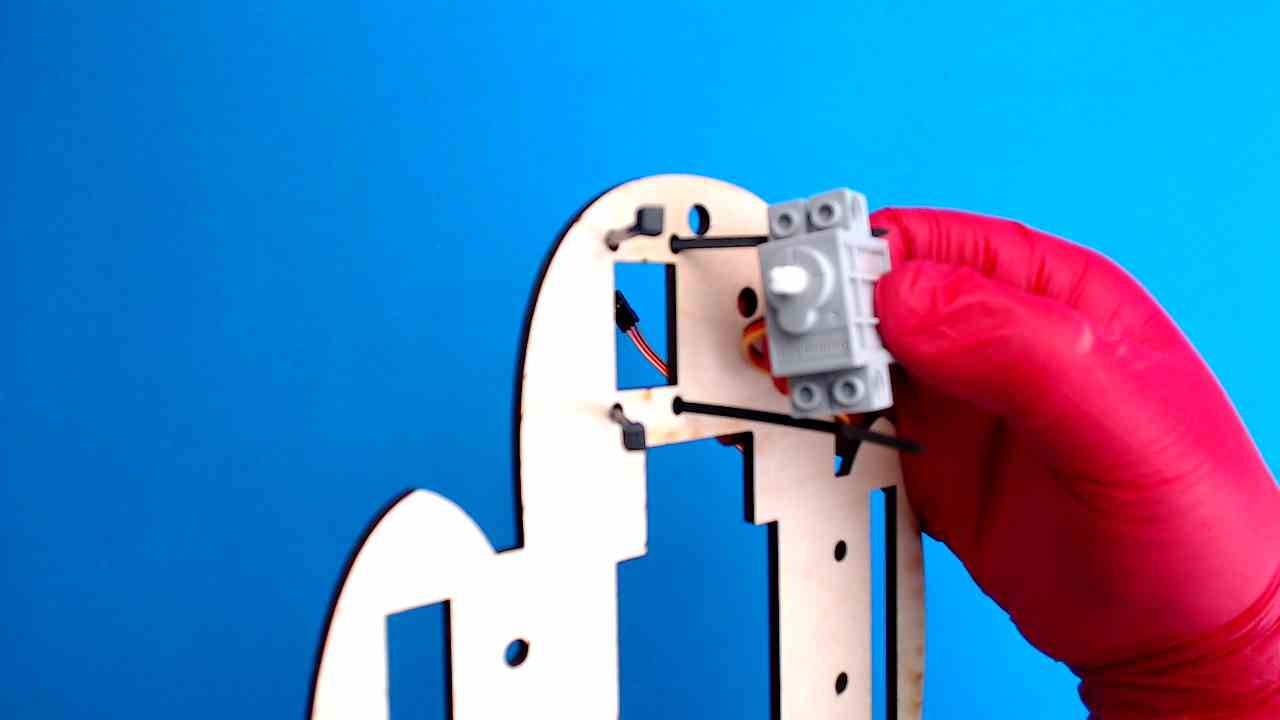
Line Up the Servo with the Base
Now line up your 180-degree servo with the big rectangle shaped opening in your base–just like in the photos.

STEP 4
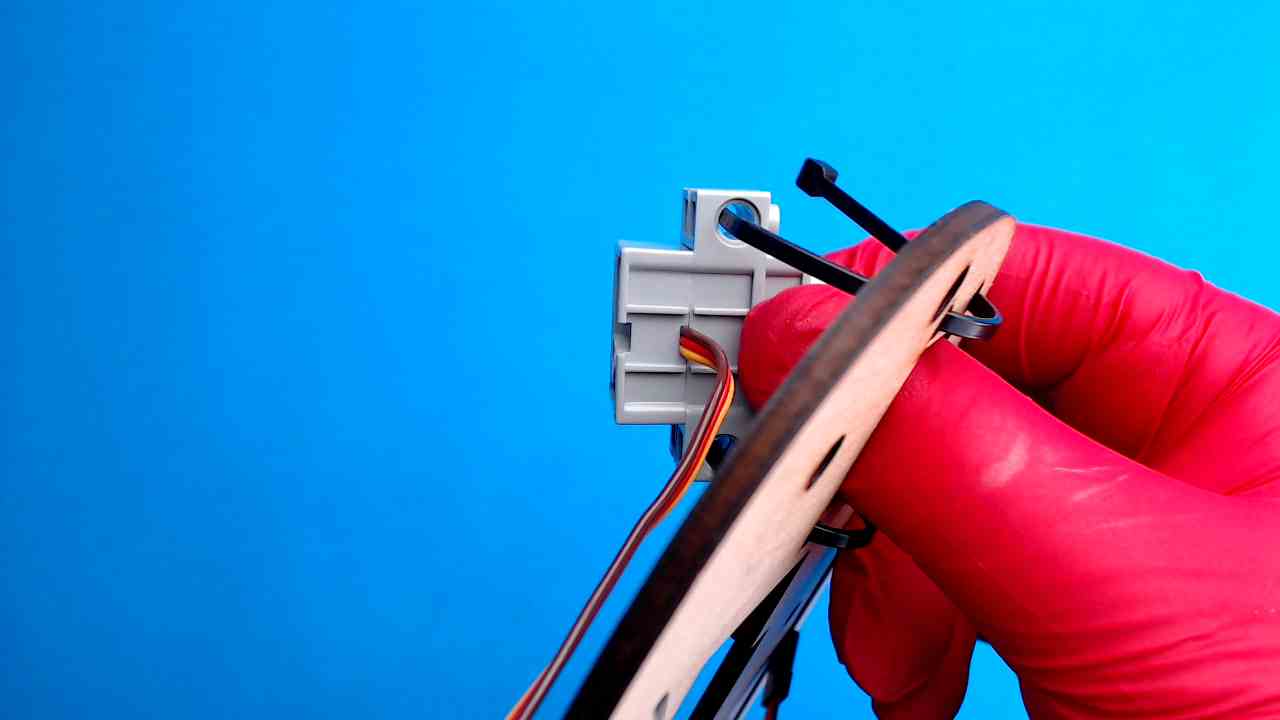
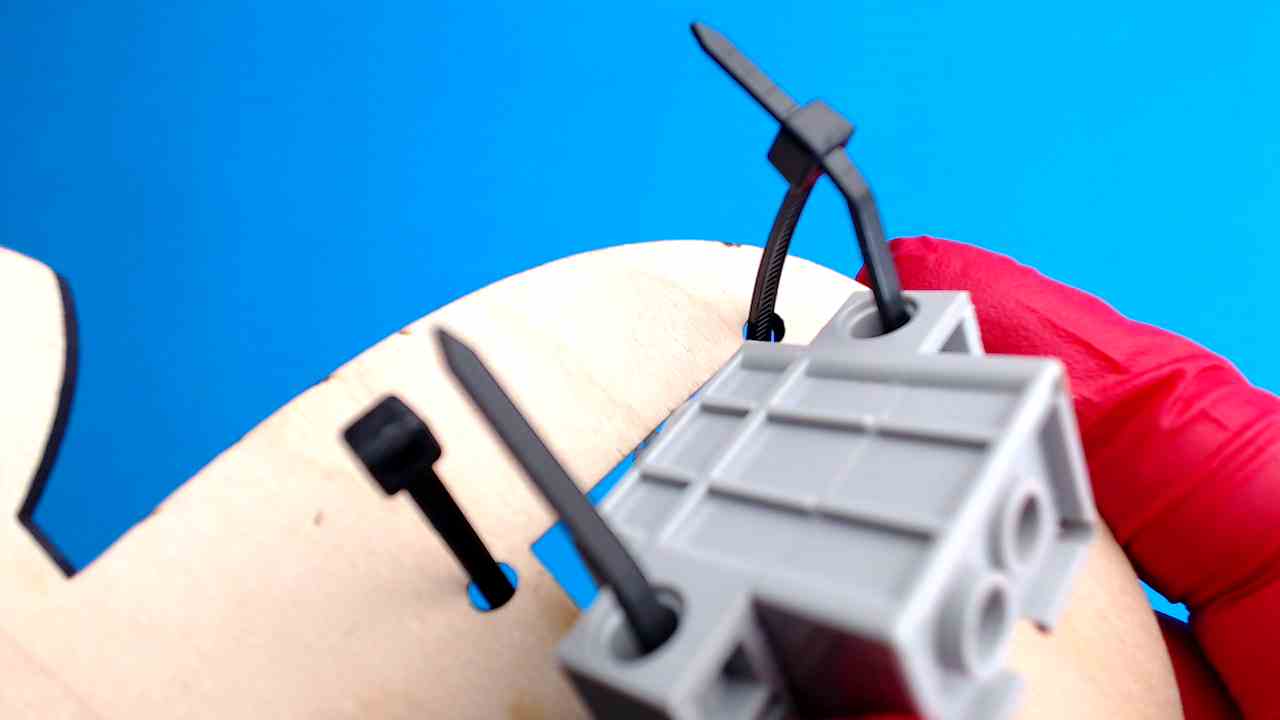
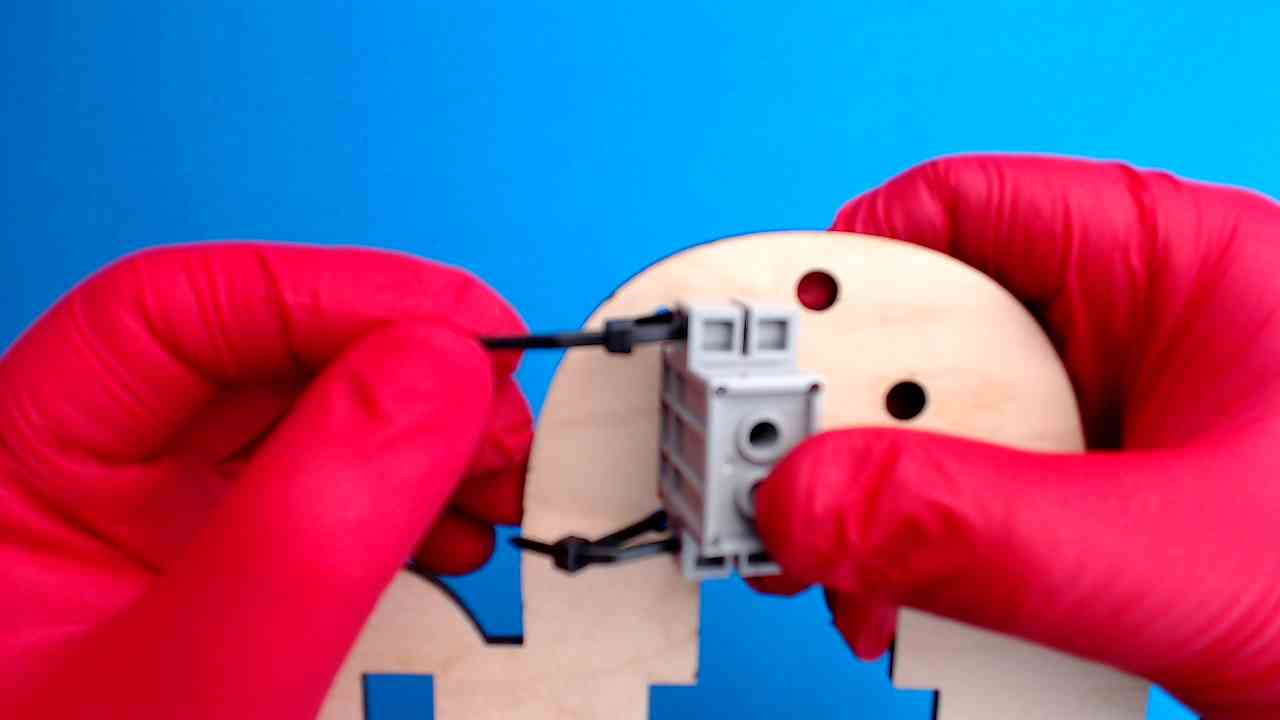
Loop Zip Ties Through the Servo (But Don’t Zip Yet!)
Thread each zip tie all the way through the holes on the servo, starting from the right side. Line up the ends to make little loops, but don’t tighten them all the way just yet! Heads up: once you push the end of a zip tie through the other side, it locks in place and can’t come back out, even if it’s still loose. So make sure everything's lined up just right before you zip it tight!

STEP 5
Slide in the Servo and Zip It Tight!
Slide the 180-degree servo through the big rectangle opening in your base. Then pull the zip ties tight until the servo is snug and secure, listen for that satisfying “zip-zip” sound!
STEP 6
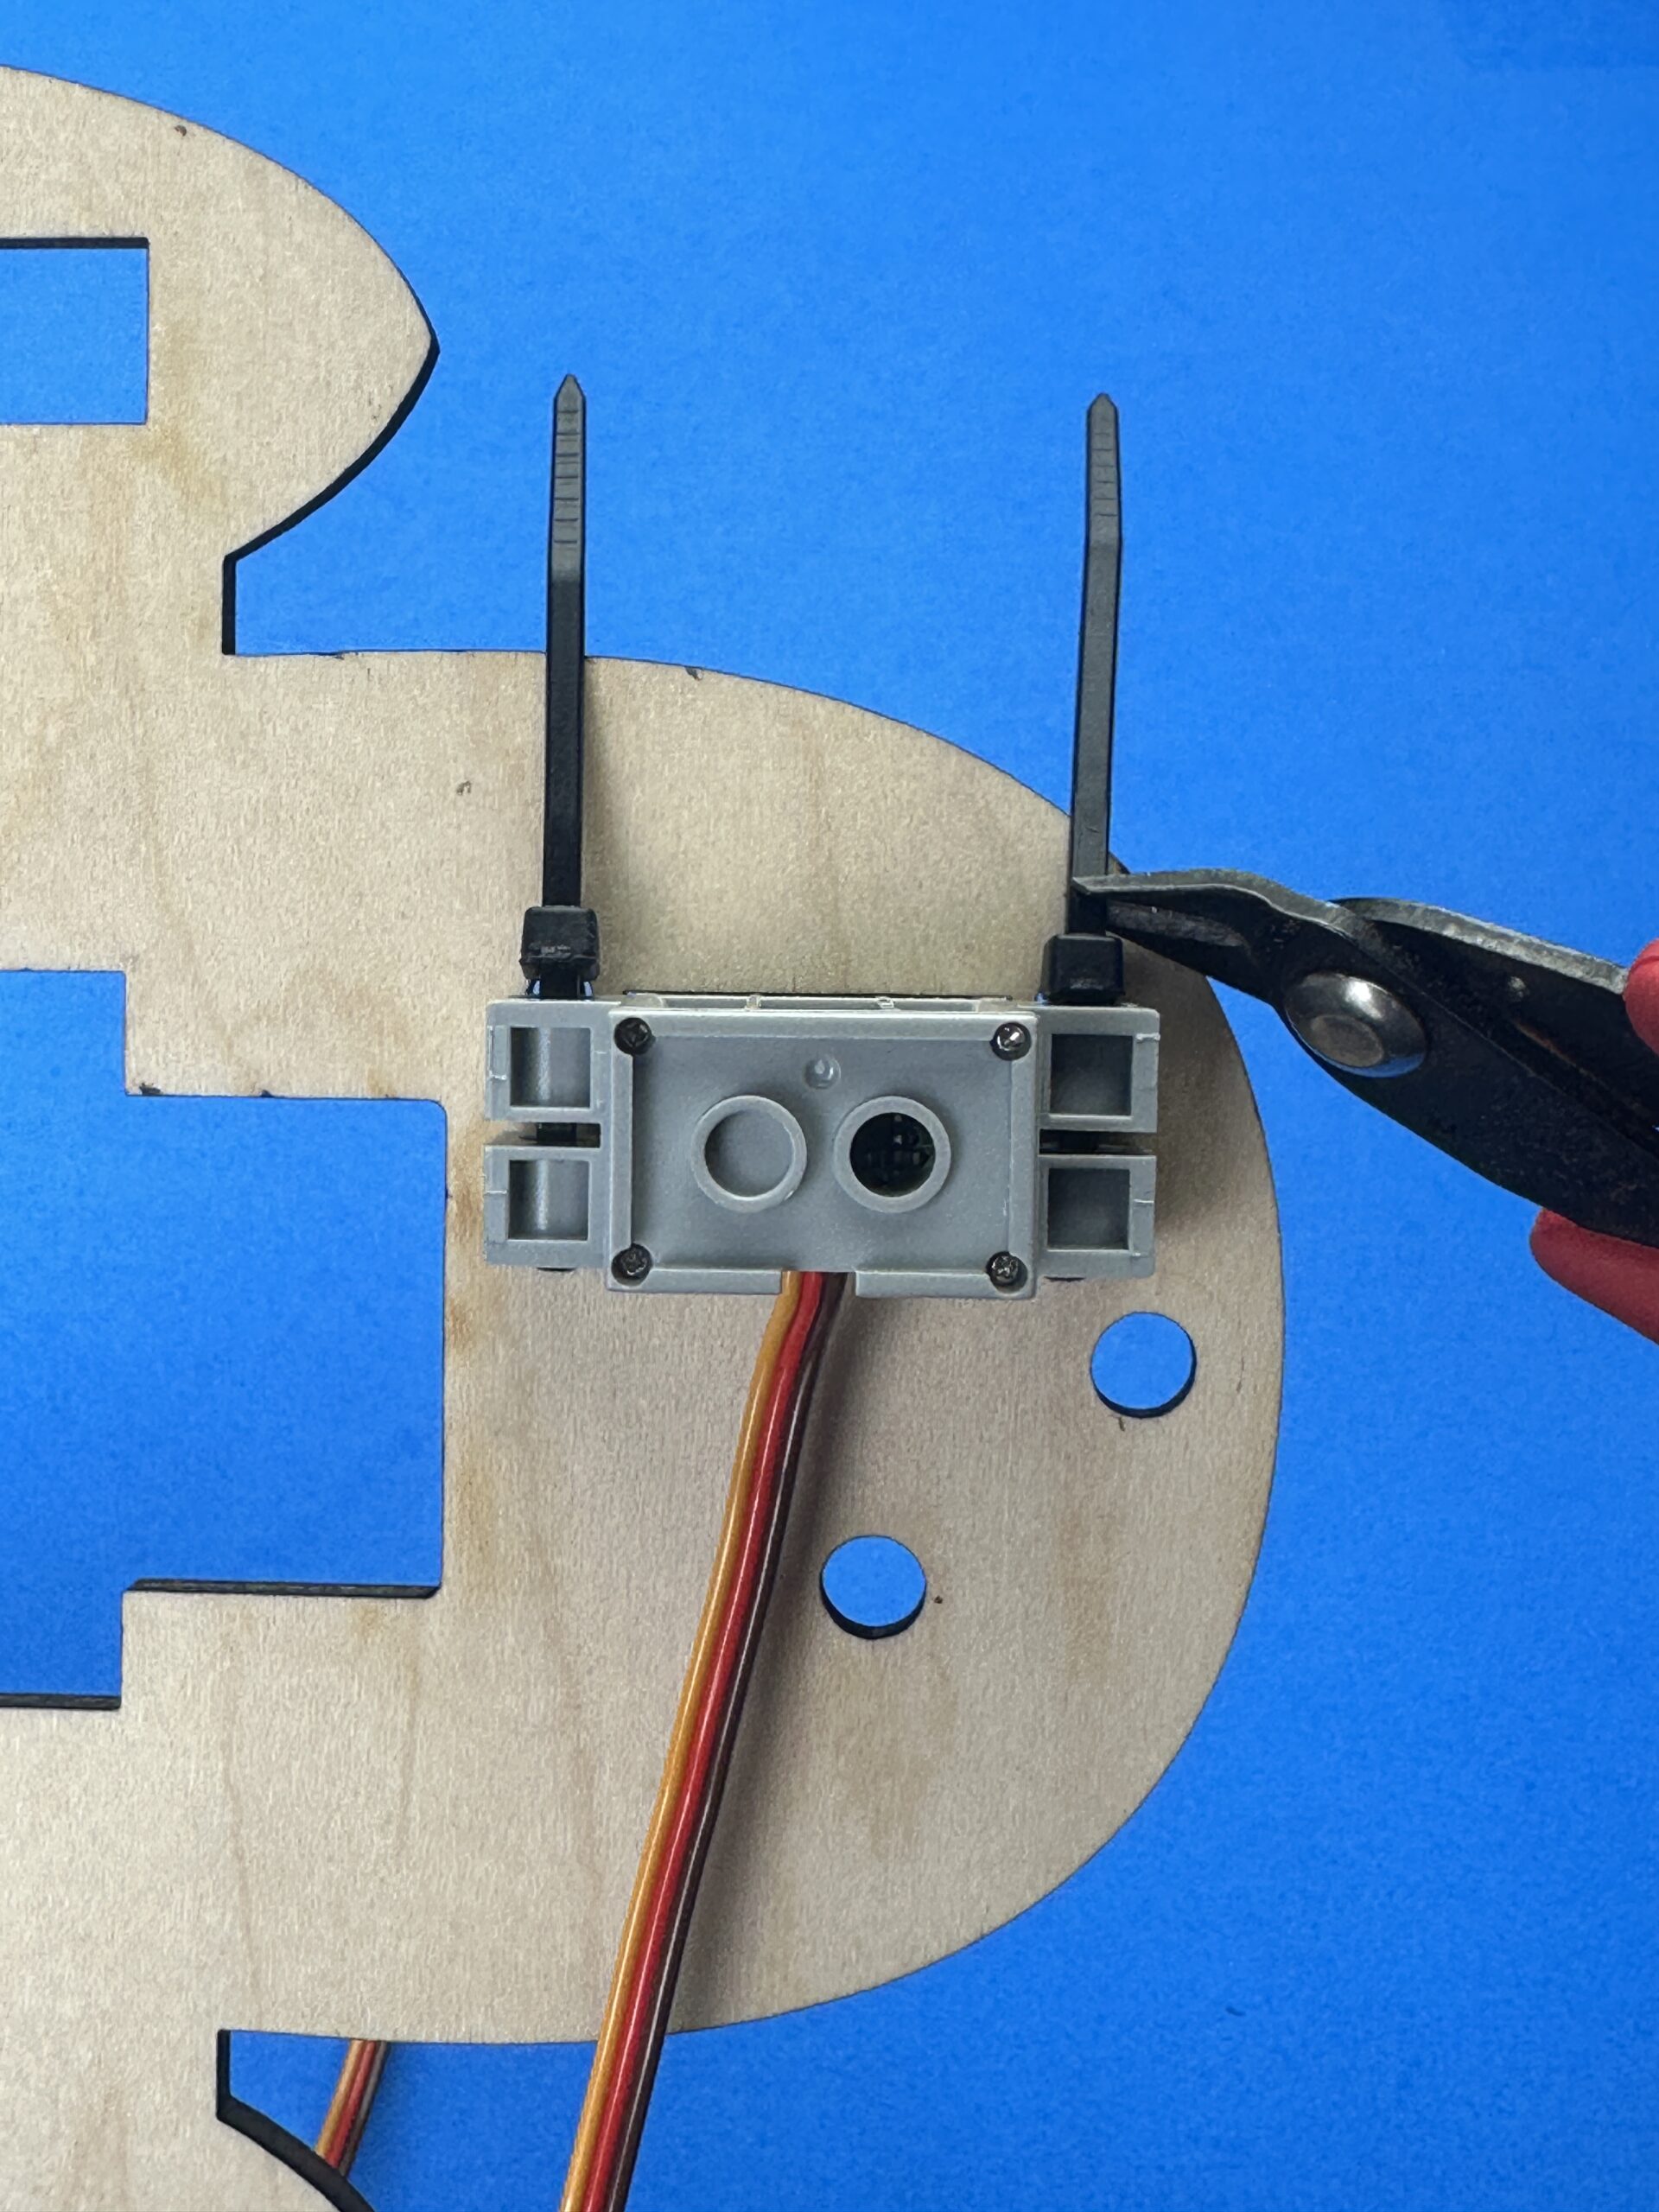
Snip the Zip Tie Tails to Clean It Up!
Now it’s time to tidy things up! Grab some scissors and carefully snip off the extra tails of the zip ties so they’re not sticking out from the sides of your monster. Clean and cool!